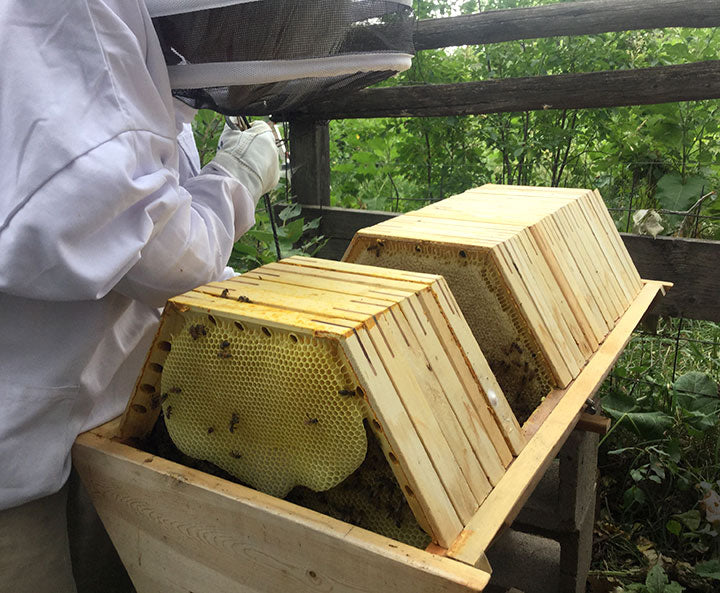
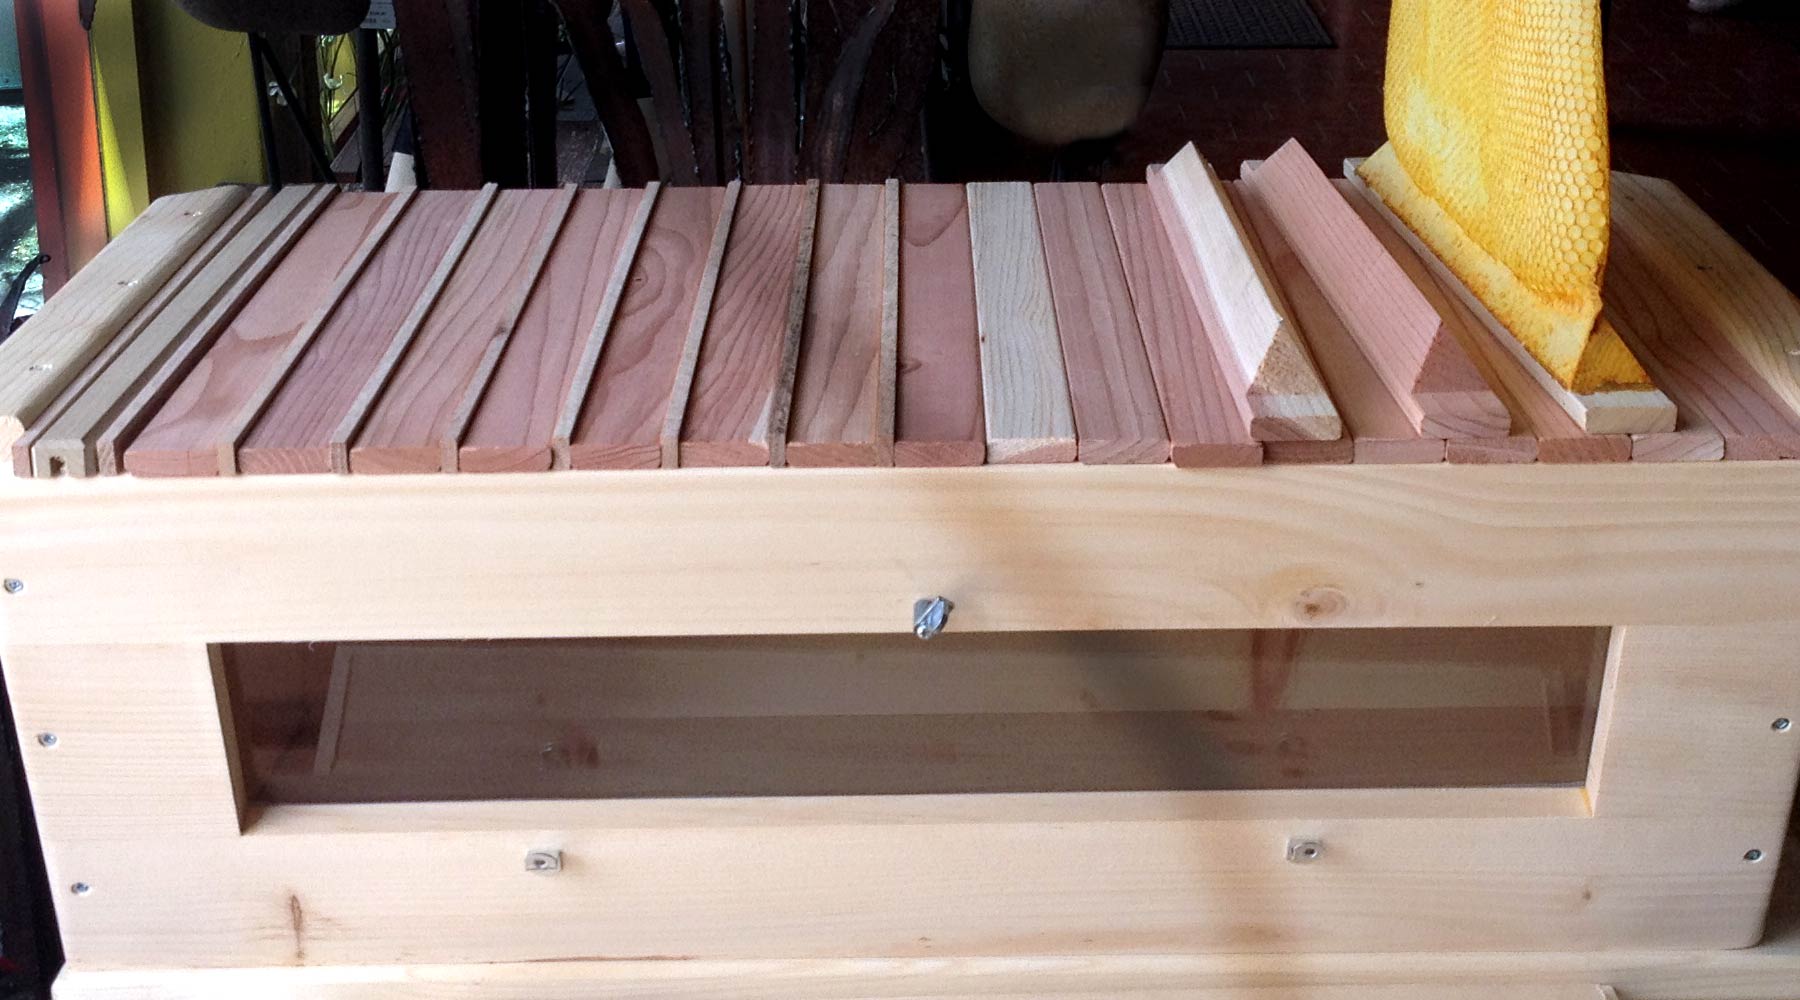
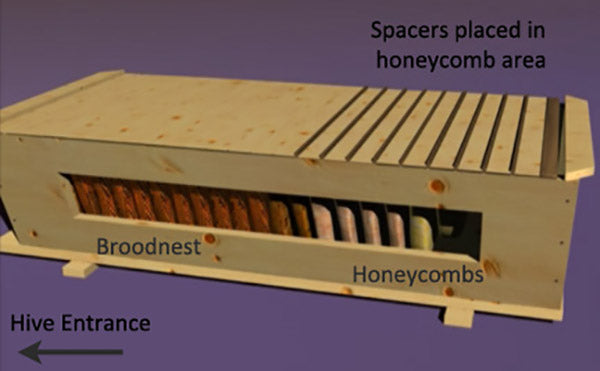
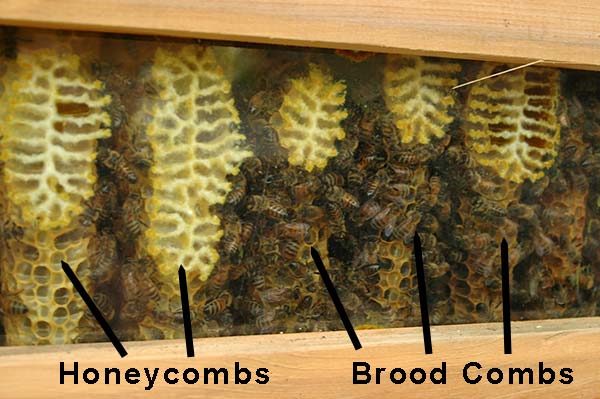
The spacers are the thin strips of wood (1/4" thick) that come with our top bar hives and are described in our hive plans. Bees in natural habitats do not create equally-spaced combs. In a tree hive, for example, the bees will create two basic spacings. The typical space between brood combs is 1 3/8" (normal bee space), but the spacing for honey combs is slightly larger at approximately 1 5/8". The 1/4" spacer, when placed adjacent to a topbar, will create the larger space needed to accommodate the fatter honey combs. The spacers are a unique development that Corwin designed after observing for the last 18 years how the bees built their comb in the top bar hives. The use of spacers in the honeycomb area of the hive encourages good alignment of the combs throughout the hive.
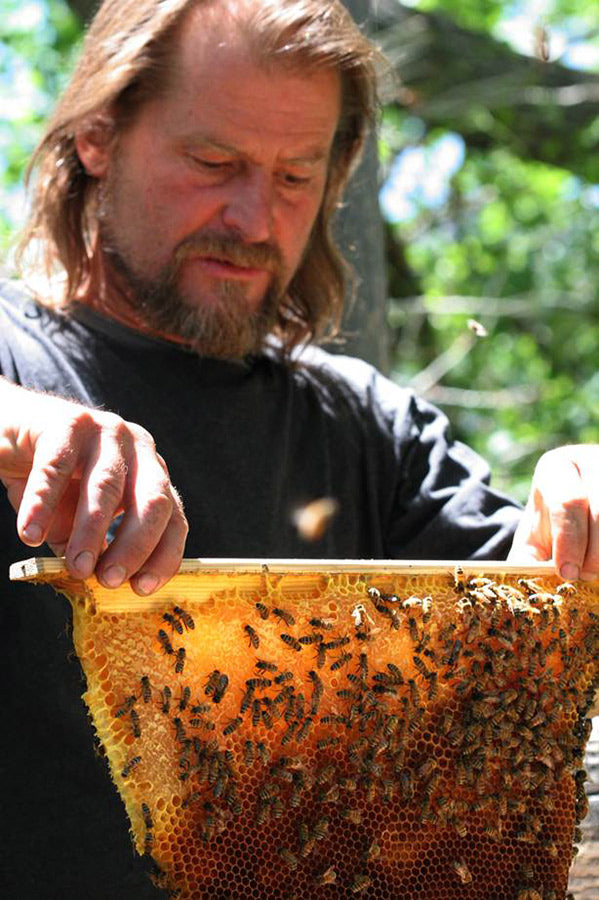
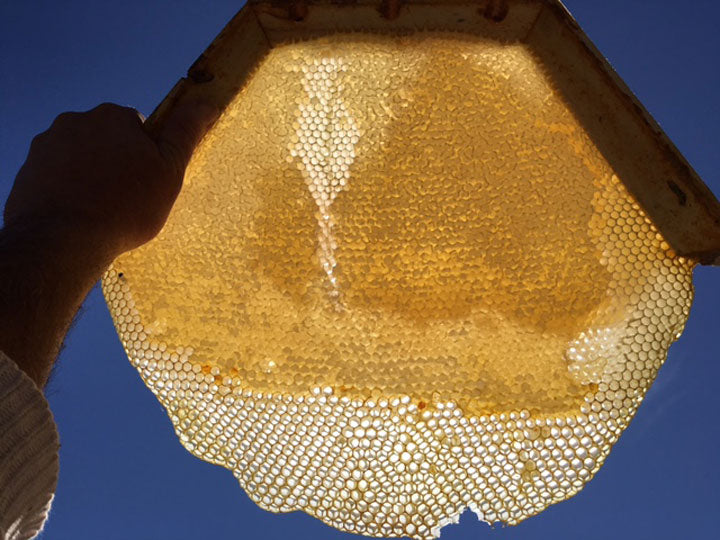
The bees most certainly draw out thicker honey combs at around 1 5/8" thickness. I discovered this by setting up 6 Top Bar hives, without any starter ridges or even a wax guide. All hives created 1 3/8" wide combs for brood and then transitioned to 1 5/8" wide combs for the honeycombs. It amazes me that other top hive designs do not use spacers, which leaves the beekeeper with honeycombs spanning several bars at a time, giving top bar hives a bad reputation for cross comb.
How to use the Spacers with a Top Bar Hive
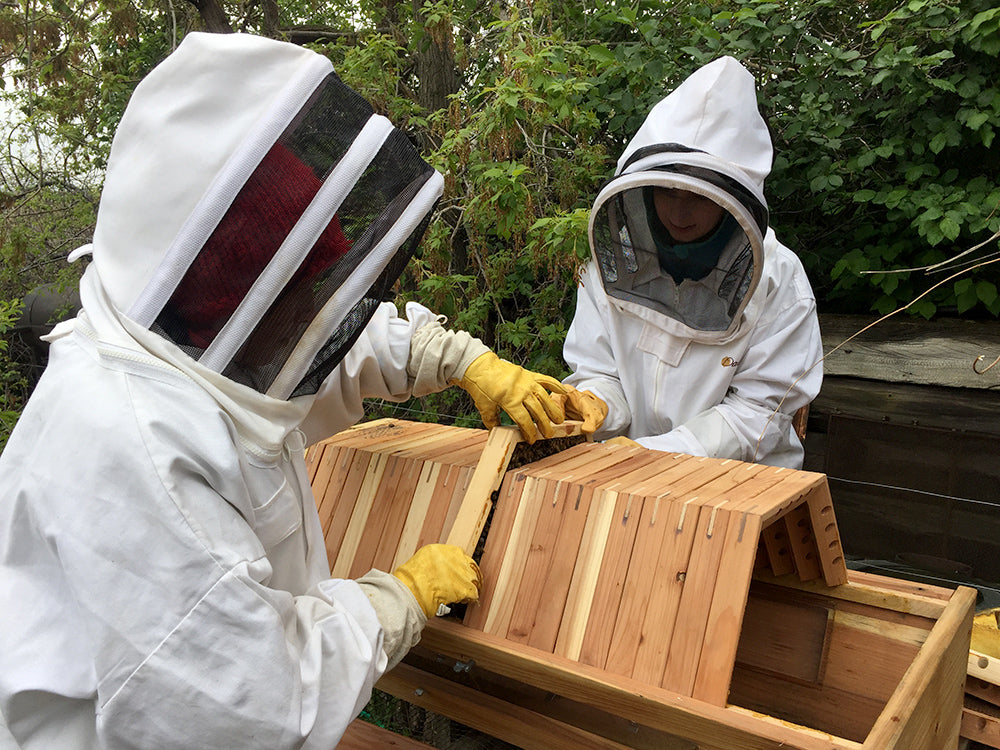
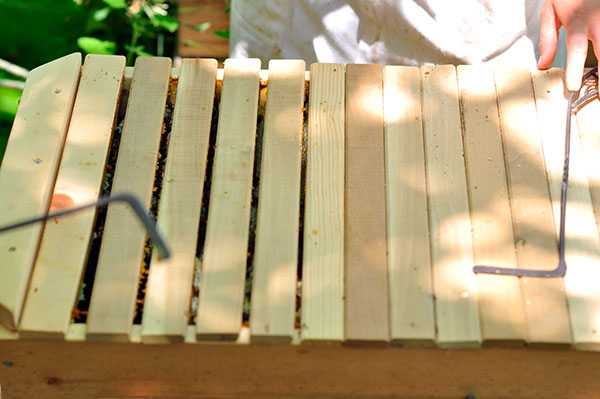
For the average size swarm or 3 lb package of bees, place your false back 10-12 bars from the entrance for a small hive or our Backyard Hive and 8-10 bars for our Golden Mean Hive. To install the spacers, start behind the false back and insert the spacers in between each top bar moving toward the back of the hive, placing each one on edge (not flat).

Our DVD visually illustrates this.
Once the spacers are installed, keep the extra top bars as they come in handy when it comes time to harvest honeycomb. You can pull out a comb and fill the space with one of these empty top bars.
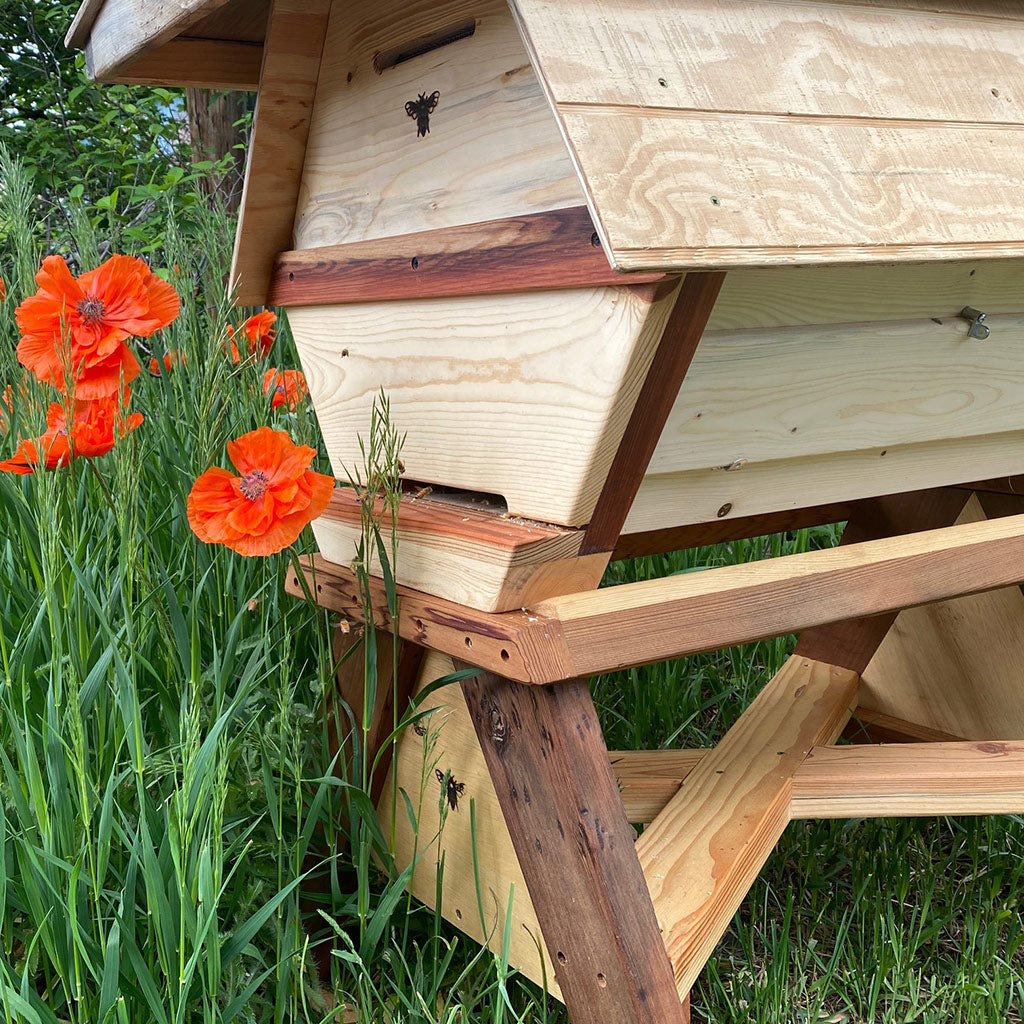
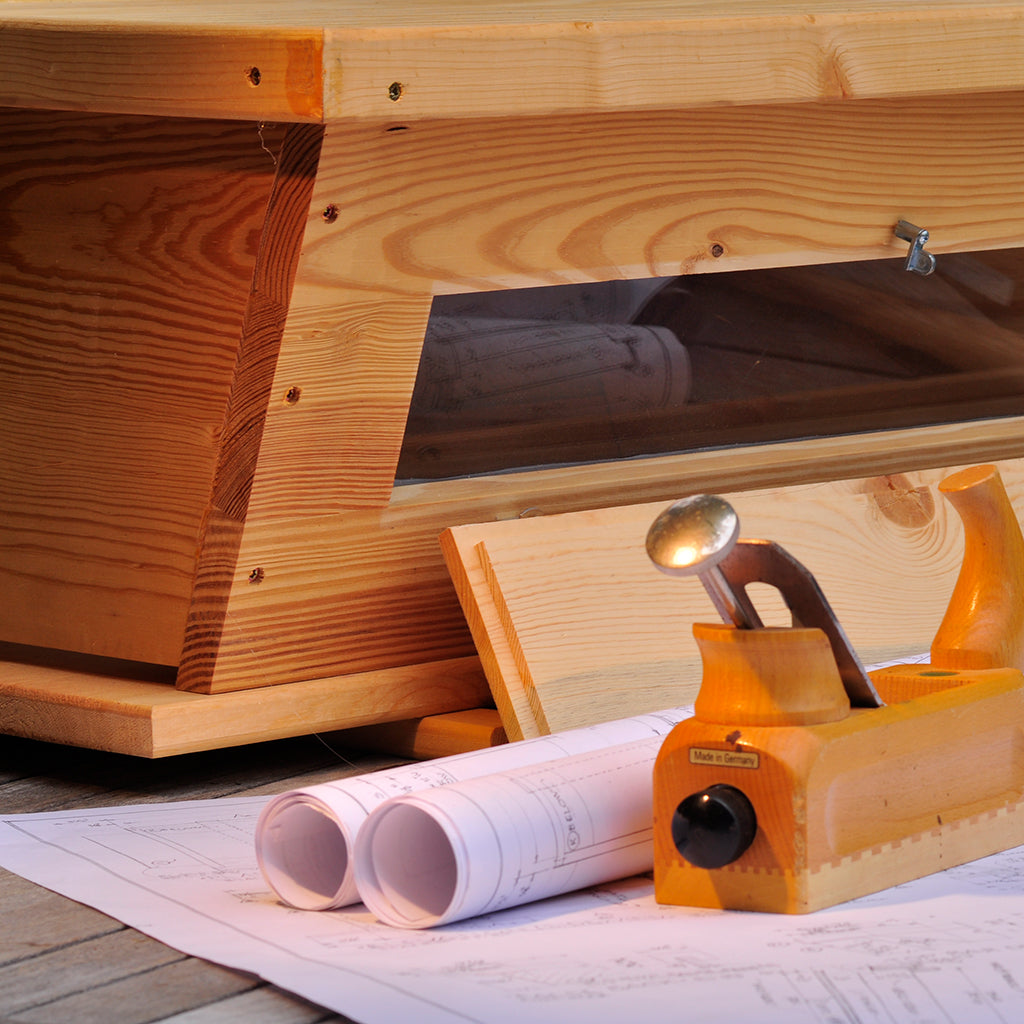
Each hive of bees is unique. Since the construction of comb is somewhat fluid you may need to adjust the position of the spacers. Observing through the window, you'll be able to recognize where the bees have recently drawn out honeycomb (by the long comb attachment on the window) and will be able to add or subtract spacers accordingly.
Other Uses of Spacers
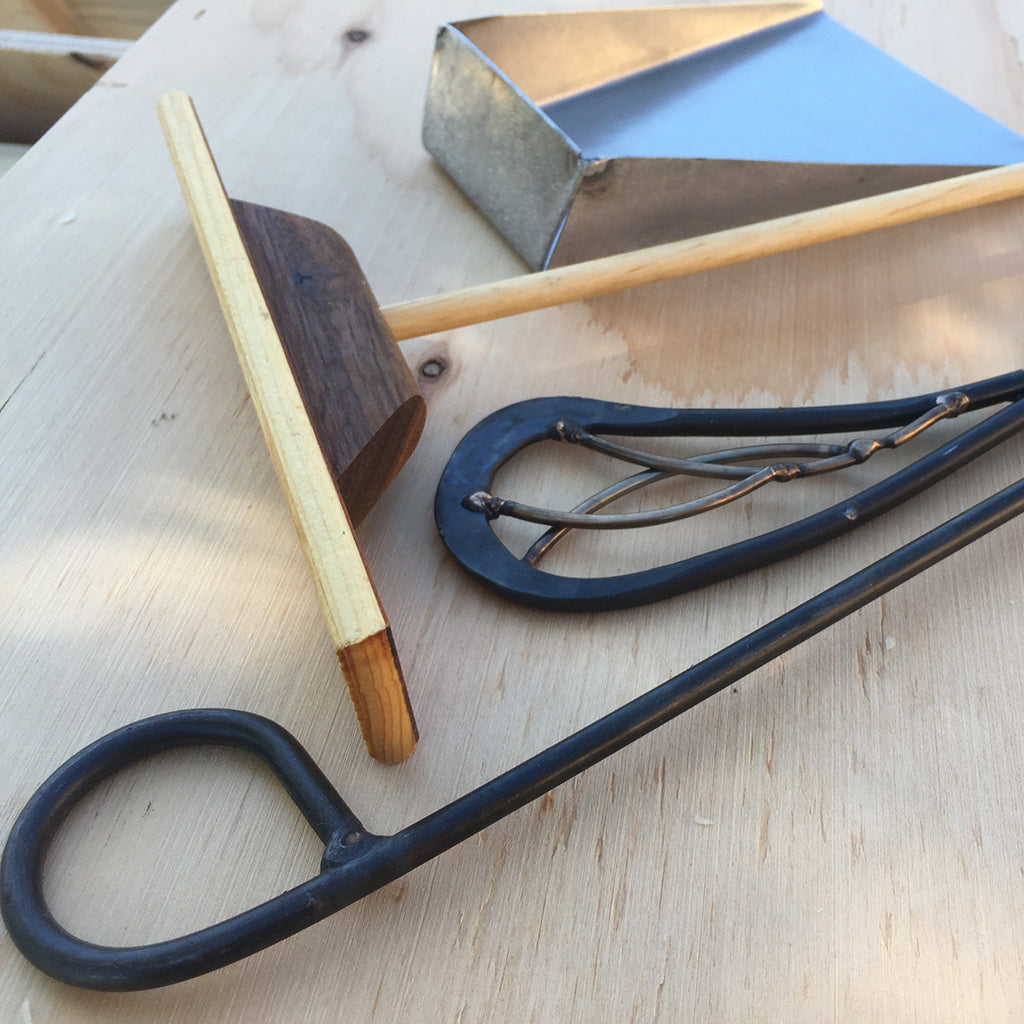
When working the hive (during your Spring assessment or when harvesting honey, for example), you can remove the spacers in order to peer down into the hive and track the curvature of any misaligned comb -- all without having to pull out the combs. If you do need to remove a comb, you can use the opening created by removing the spacer to access the walls with your hive tool and detach the brace comb. Now you can easily remove that comb in the middle of the hive.
Why do I have cross combs?
Cross combs are usually caused by either a poorly leveled hive, too hot of a location for the hive or an electromagnet disturbance somewhere near the hive.
How can I fix my cross comb?
In this case several spacers can be removed to assess the crookedness of the pattern beneath the bars. Then with one of our long hive tools one can access these combs that are spanning several bars and detach them in an orderly manner. With the access created by removing the spacers, one can also cut the brace comb from several bars and then successfully take out several combs as one unit.
Access the front of the hive, the Broodnest area
The final use of the spacers, if the beekeeper has placed a spacer or two in the very front of the hive at the first bar, this allows the beekeeper to access the broodnest immediately in order to harvest a swarm cell or a brood comb for a split or to rescue another hive from a queen failure with 1-3 day old eggs in the broodnest.
Spacers are included with your hive
Our spacers come with your hive or top bar set that you order from us. You can also purchase additional sets of spacers at our
Shop Page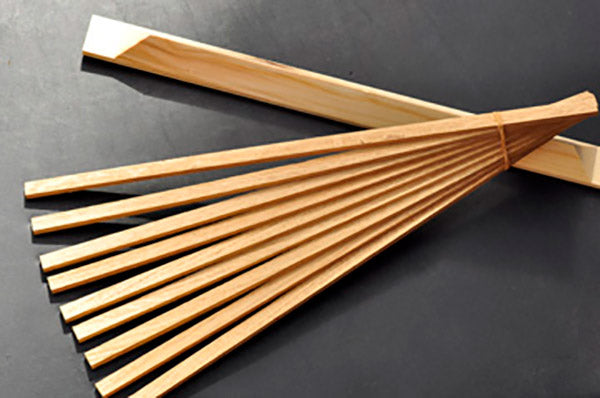
What about using spacers in the Cathedral Hive?
No spacers are not needed in the Cathedral Hive due to the bees tapering the large honeycombs.
Read Corwin's explanation about this in the Cathedral Hive Building Tips and FAQs
(Photo credit: Corwin Bell)