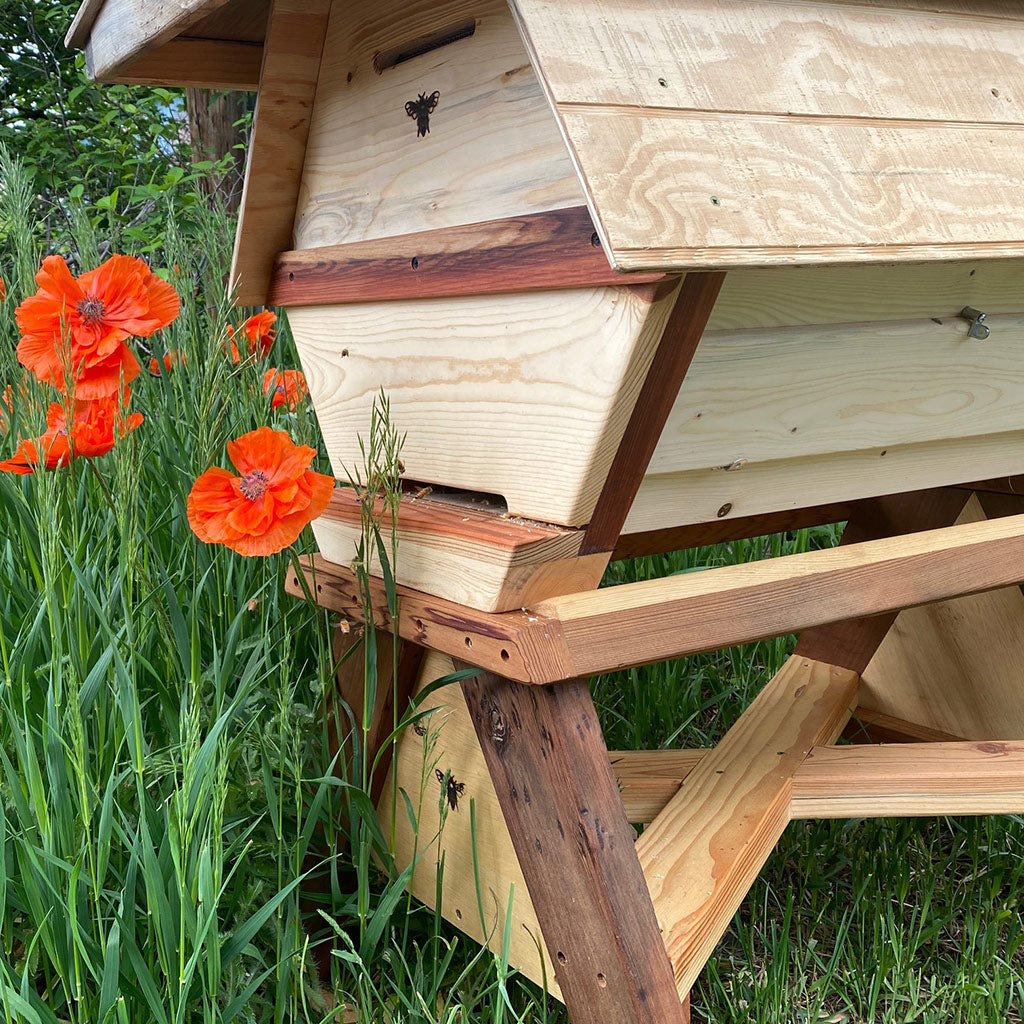
Simple techniques that will make installing bees in your Cathedral Hive® a breeze.
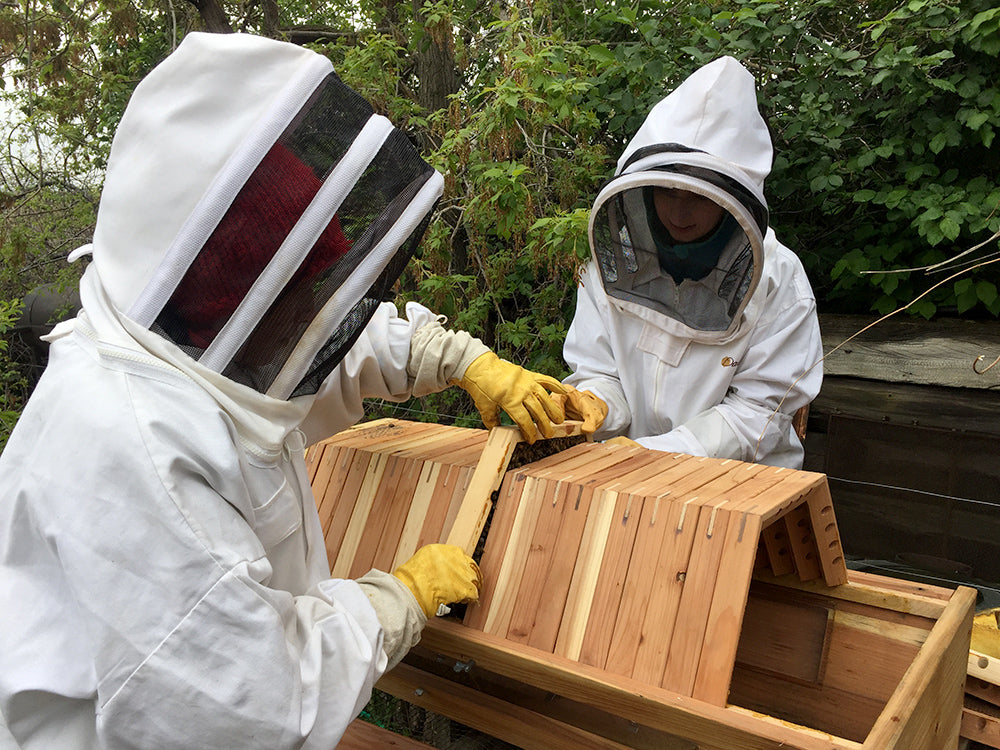
Support the Cathedral Bars until the bees draw out comb on the bars
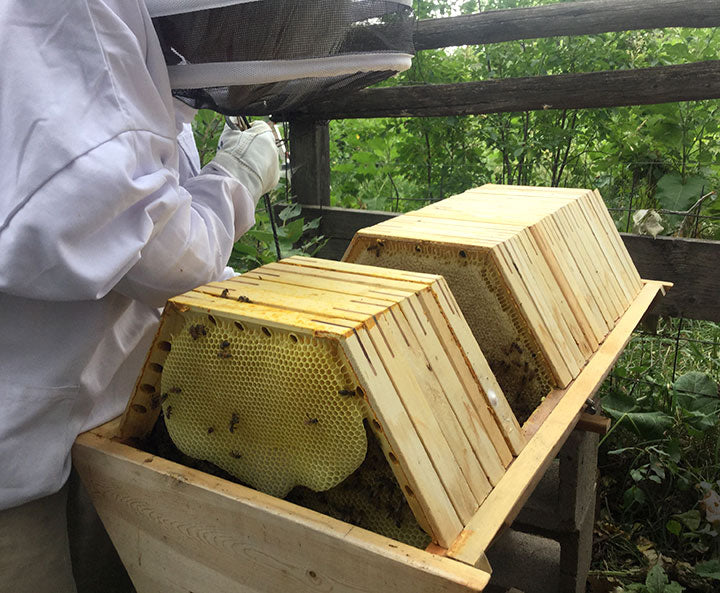
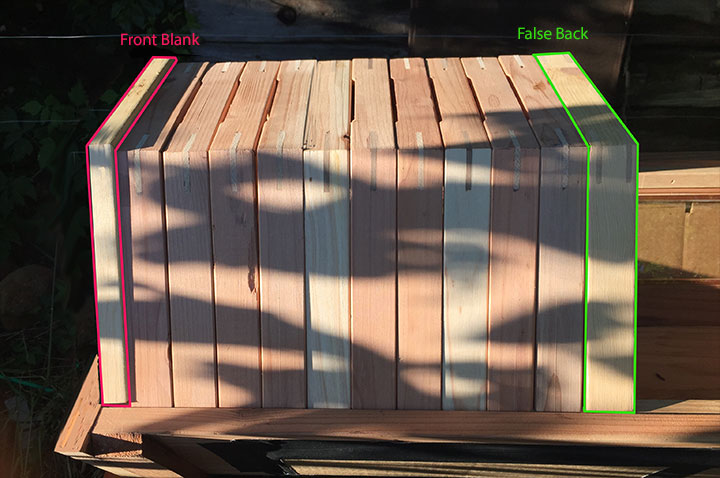
One of the first things you will notice with your new Cathedral Hive® is when you line up the hexagonal top bars across the hive on the support ledge, they are delicately balanced. This will soon change after the bees begin to draw out comb and 'glue' everything together with propolis making the bars sit firmly in place.
To make everything good and stable for installing the bees, you will want to make sure you have the Front Wall Board and the falseback in place to keep the bars upright.
Important! Secure Front Wall Board
Securing the Front Wall Board will create a stable wall for the hexagonal top bars to lean against until comb is drawn out. Once the comb is hanging below the hexagonal top bars they will be naturally very stable, but in the beginning the top bars are quite unstable without the stabilizing Front Wall Board.
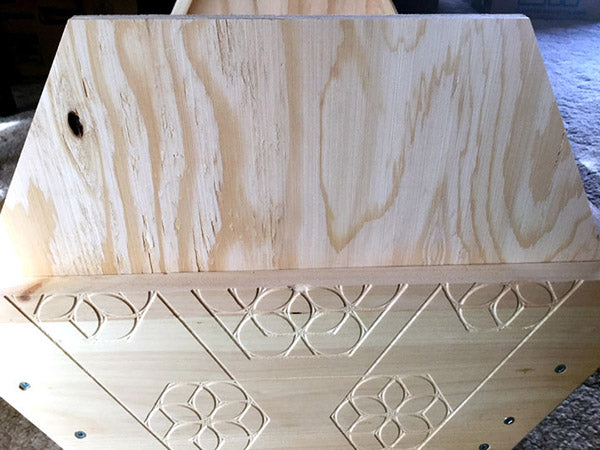
The Front Wall Board should be taped in place in preparation for installing the bees.
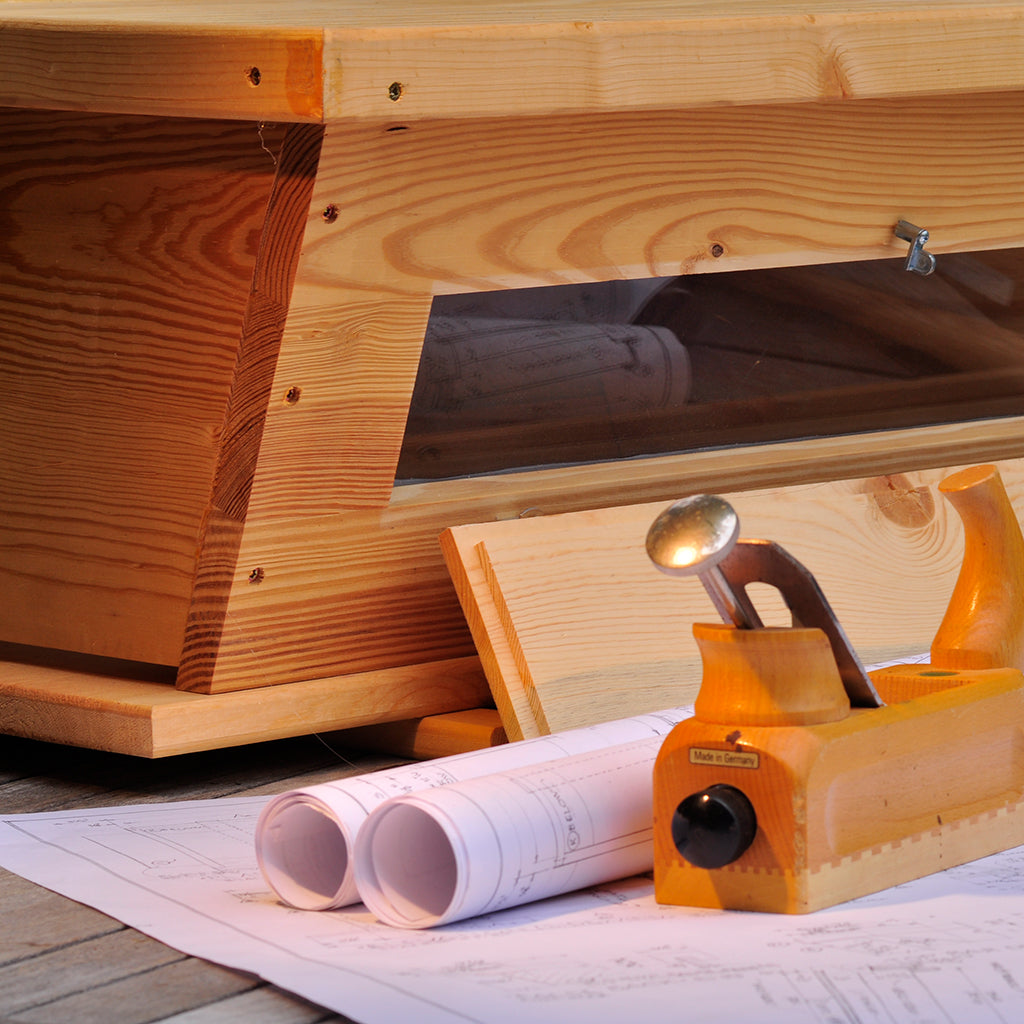
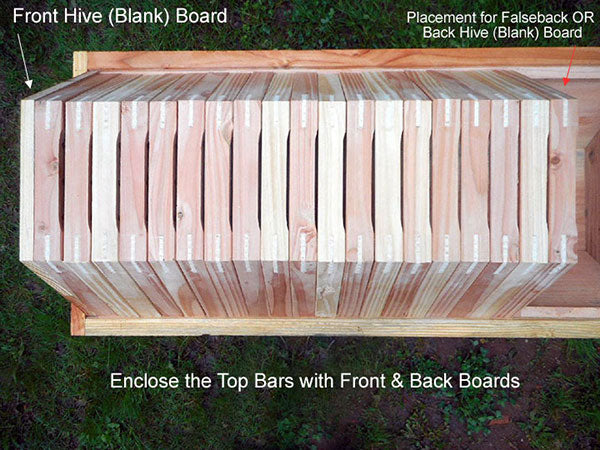
Close up of the Front of the hive, Bottom Section with the Front Wall Board in place at the front of the hive.
You have to ask yourself what is the purpose of the Front and Back Wall Boards? If you did not have these Boards, when the top (Upper Section) of the Cathedral Hive® is removed, all the bees and the combs would be exposed!
Fully enclose the Cathedral Hive® Bars
A Front Wall Board at the front of the hive A Back Wall Board OR Falseback behind the last top bar
The Cathedral Northern Lights Hive®, with the falseback behind the last bar of the hive and a gap between the falseback and the Back Wall Board for expansion and contraction of the wood top bars.
Set up the Cathedral Northern Lights Hive® with 17 Bars, you will have an extra bar, use it for when you harvest a bar from the hive and you can replace it right away with the empty bar
Create an Opening by removing some bars to Install the Bees
Remove 5-8 bars to create the opening to install the bees with the Front Wall Board and the Falseback in place
Note: In this image, the Front Wall Board is made of glass for experimental reasons. Normally the Front Wall Board that is a solid hexagonal piece of wood.
The blue line shows the bars to be removed to create the opening to install the bees.
The swarm that was installed in this hive was very large. For a smaller swarm or package bring the falseback forward 2 or 3 bars.
Now that you have all the bars neatly arranged on the ledge, decide which bars you will remove to create the opening that you will install the bees into. Think 5 or 8 bars for an opening depending on the size of your swarm or package.
Install (establish) the Bees at the Front of the Hive
We always install the bees in the front of the hive, so that they will establish the broodnest toward the entrance. I like to leave one or two bars in the front when installing the bees to create a little “cave” or “alcove” to give the bees a sense of an enclosed space as they navigate their way into the new home.
Place the Falseback behind the Opening
Now move the falseback to the back of the opening you made. Then run a long strip of tape along all of the top of the bars from the last bar in the back, all the way up to where the falseback is located. This will keep the bars from tipping over if you accidentally bump them during the installation process. Additionally you can add a strip of tape to the two bars at the front of the hive. Now you should have a nice sturdy situation for the install.
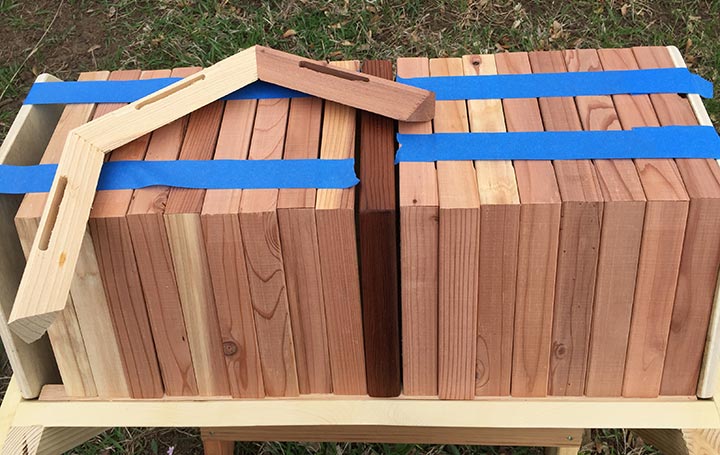
Adding tape to the bars behind the falseback and opening and on the front 2 bars by the Front Wall Board
After installing the bees put tape over all the bars to temporarily hold them in place. This is the Cathedral Northern Lights Hive® with 17 bars plus the falseback placed in the middle of the hive for installing the bees.
IMPORTANT - After 3-4 days move the falseback to the back of the hive!
The bees will immediately start to draw out comb on the bars and since we have established the bees at the front of the hive by using the falseback we can now move the falseback all the way to the back of the hive after just 3-4 days.
Leave the falseback at the back of the hive all summer long until late fall. Where the bees first draw comb is where the queen will start laying brood, this is establishing the broodnest area of the hive
After installing the bees put tape over all the bars to temporarily hold them in place. This is the Cathedral Northern Lights Hive® with 17 bars plus the falseback now moved back to the back of the hive
Close any gaps between the Cathedral Bars
Bees are escaping through the slightly larger gap in the bar vent and congregating. The space was closed up with a hive tool used to compress the bars tighter which stopped the bees from coming out.
After you put the bees into the hive, go along the hexagonal bars with a hive tool and gently close any gaps that the bees could get through. In a couple of weeks when the bees have propolized the cracks you will want to again close any gaps that the bees may be getting through. Because the bars are made of wood and cant be absolutely perfect and the top vent slots are designed to a fine tolerance, there is the possibility that a gap may need to be plugged with a thin stick. The bees should not be able to get through any small gap, otherwise they will congregate at this opening in between the bars and defend it.
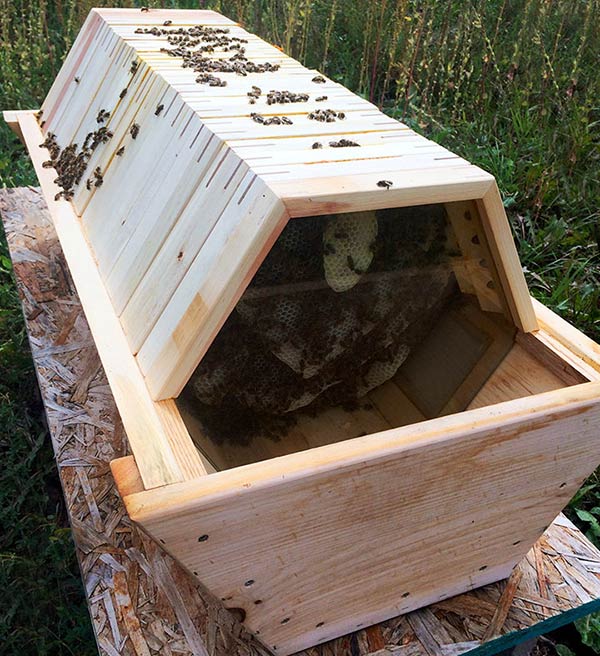
This is a shot from the back of the hive using the Glass Falseback with Upper Section removed. The bees are on the underside having crept out through a couple of gaps. With a hive tool squeeze the gaps together. Because the bees had started to propolize the bars, it was easy to close the gaps.
Another technique for keeping the bars upright when installing the bees is to slide a wooden dowel down one of the top bar holes/channel to where the opening has been established.
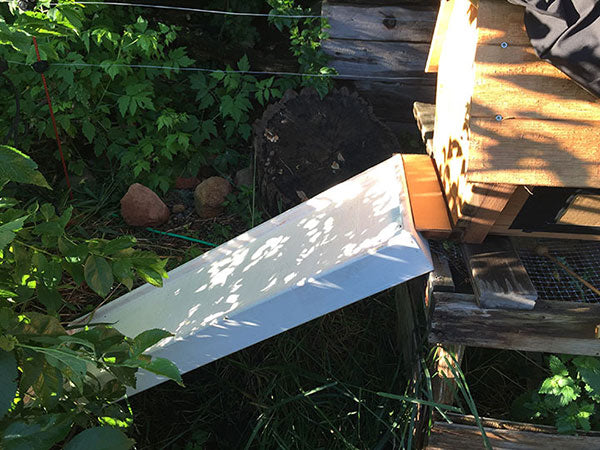
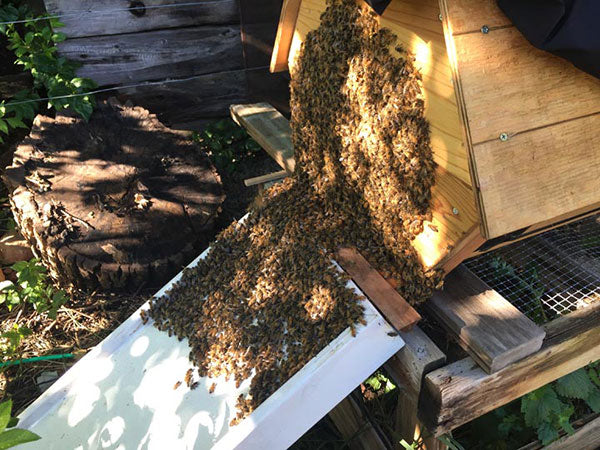
The "Walk-in" Method - Installing Bees
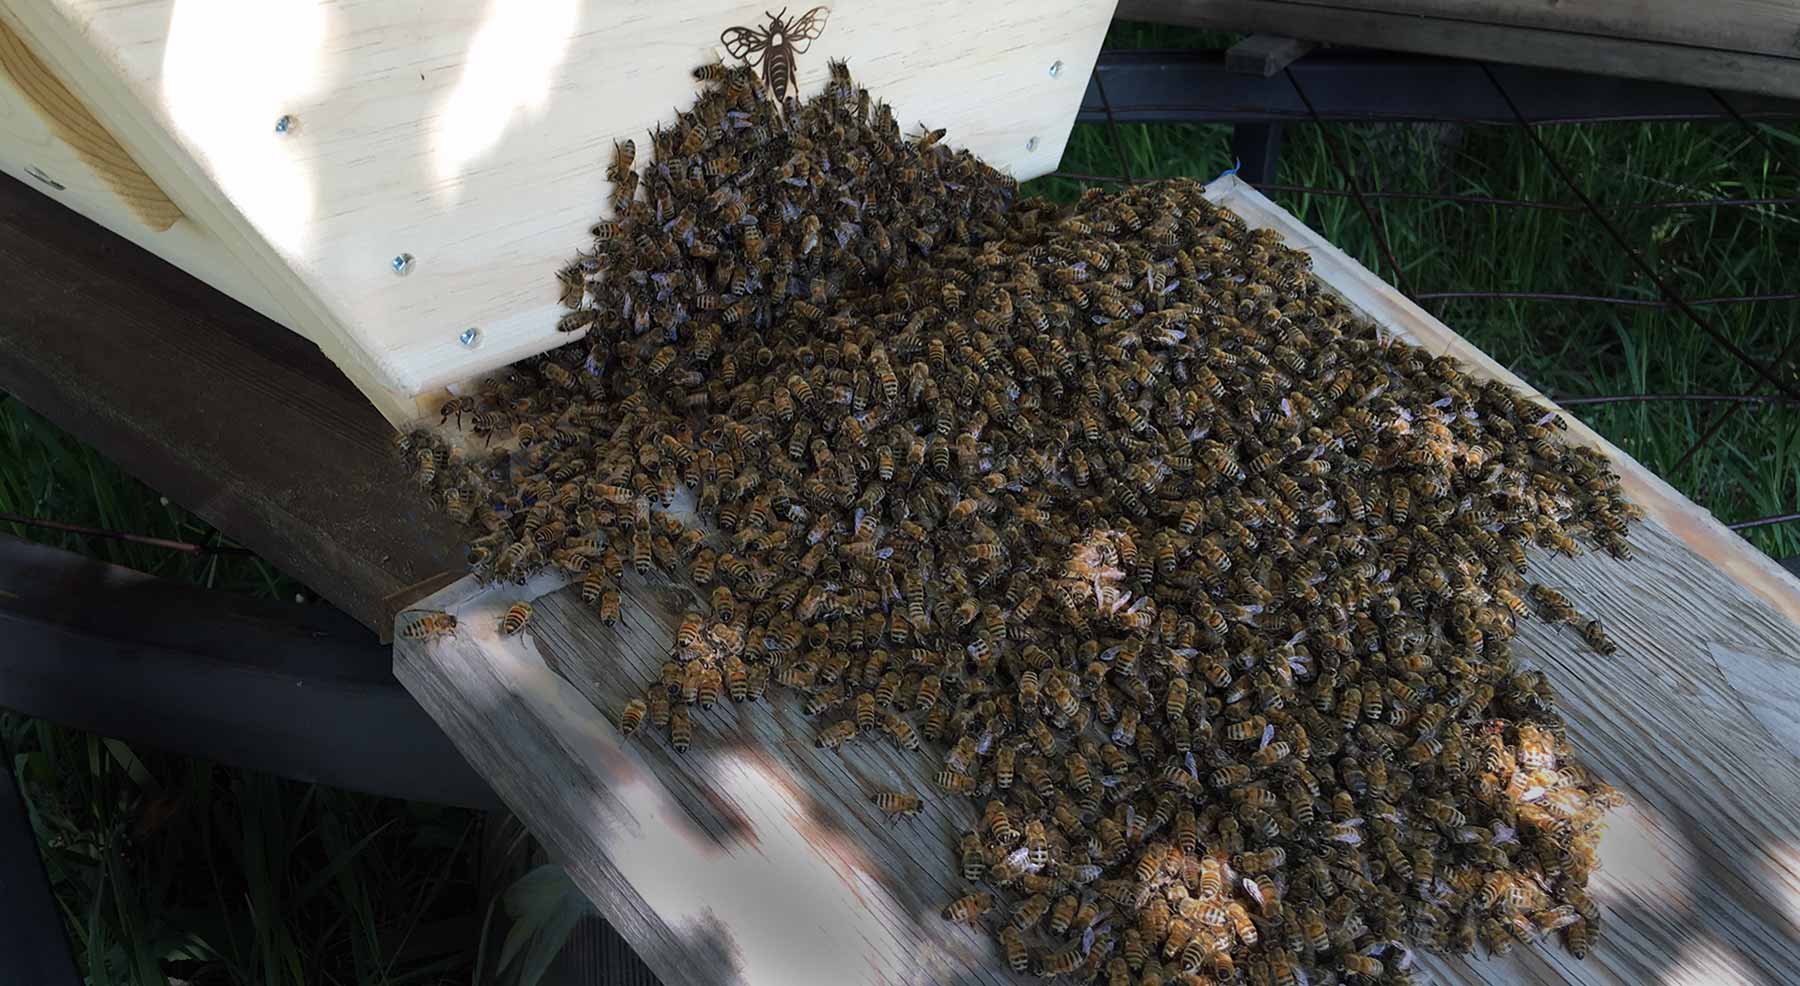
Finally, one of my favorite techniques, which is a very old method, is to set the hive up the way you want it for the new bees, put the top on and do what is called a “walk in”. With this technique the swarm of bees are gently dumped onto a ramp leading to the entrance and the bees walk into the hive.
Watch the videos to see this amazing install method!
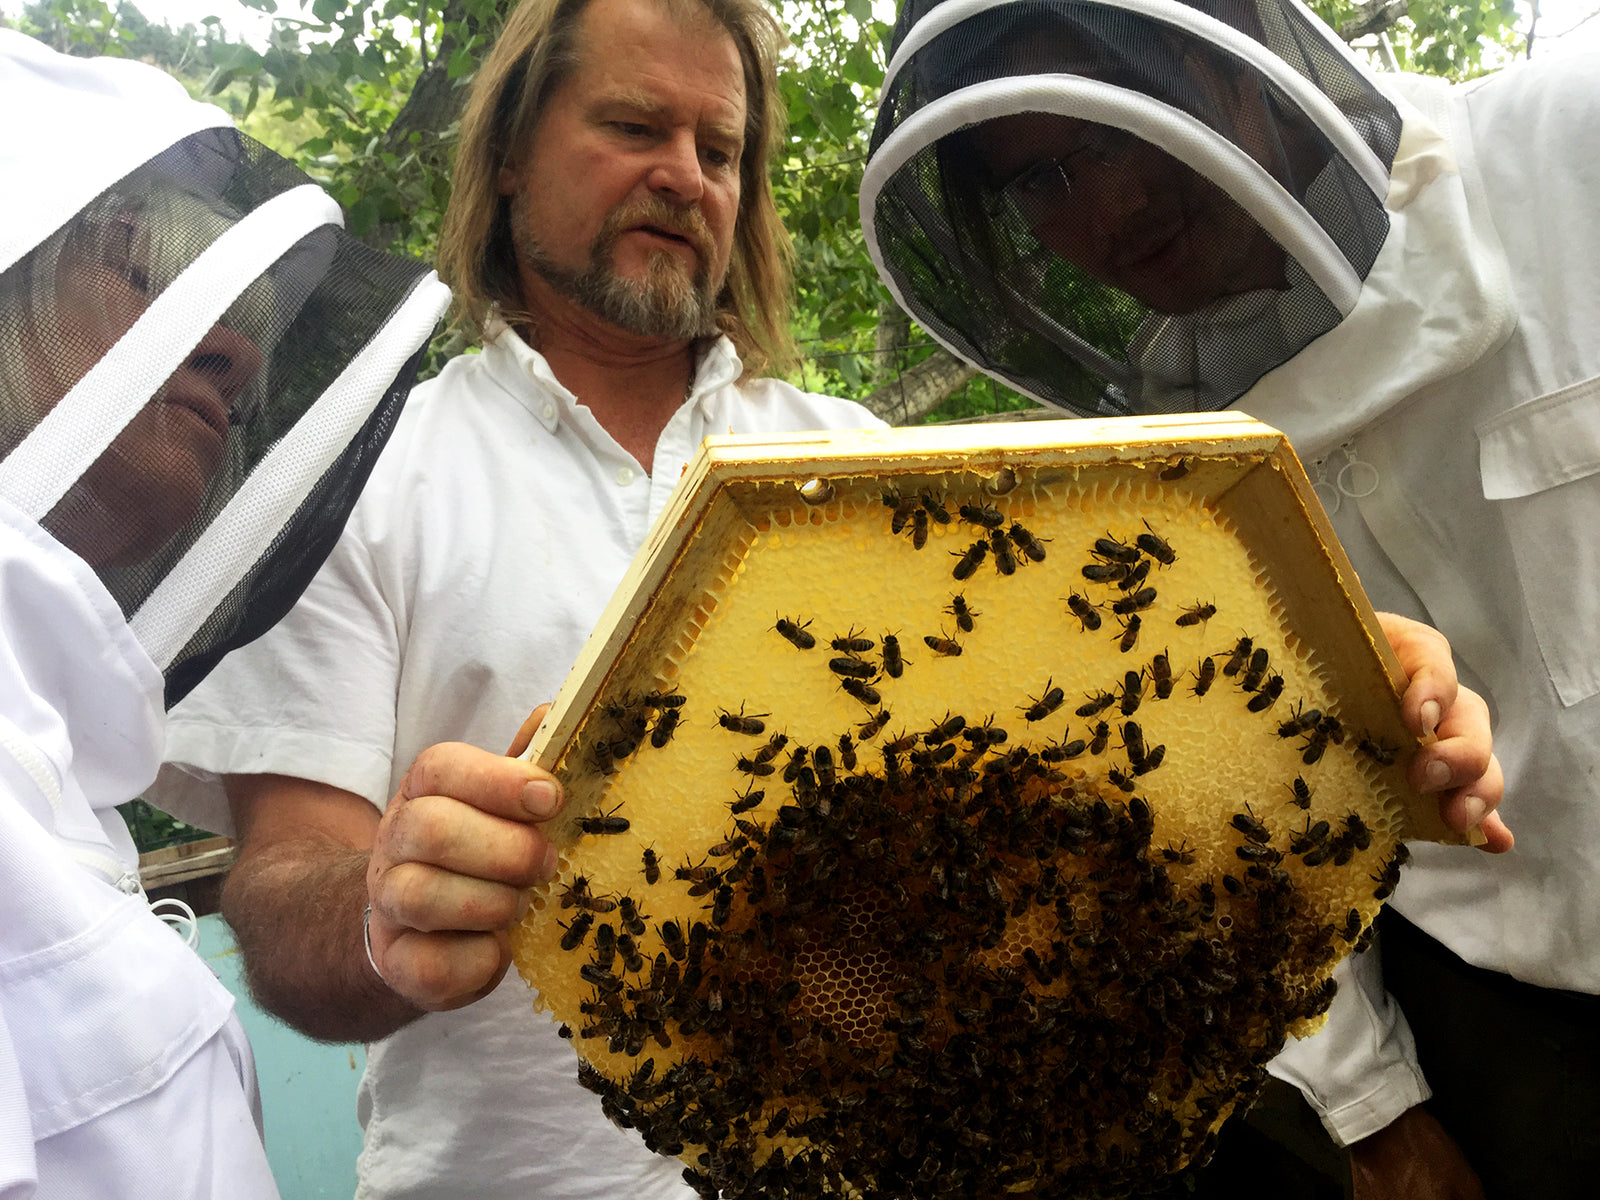
The bees gently "poured" from the swarm box onto the ramp where they quickly find the entrance of the hive to walk in on their own.
We always joke that it looks like the bees are running into an arena for a rock concert as their speed quickens as they learn to follow each other into the dark space of the hive where the queen is.
It looks like so many bees at first and you wonder how they will all go into the hive, but they quickly learn which direction to head. Soon all the bees will be in the hive and happy with their new home!
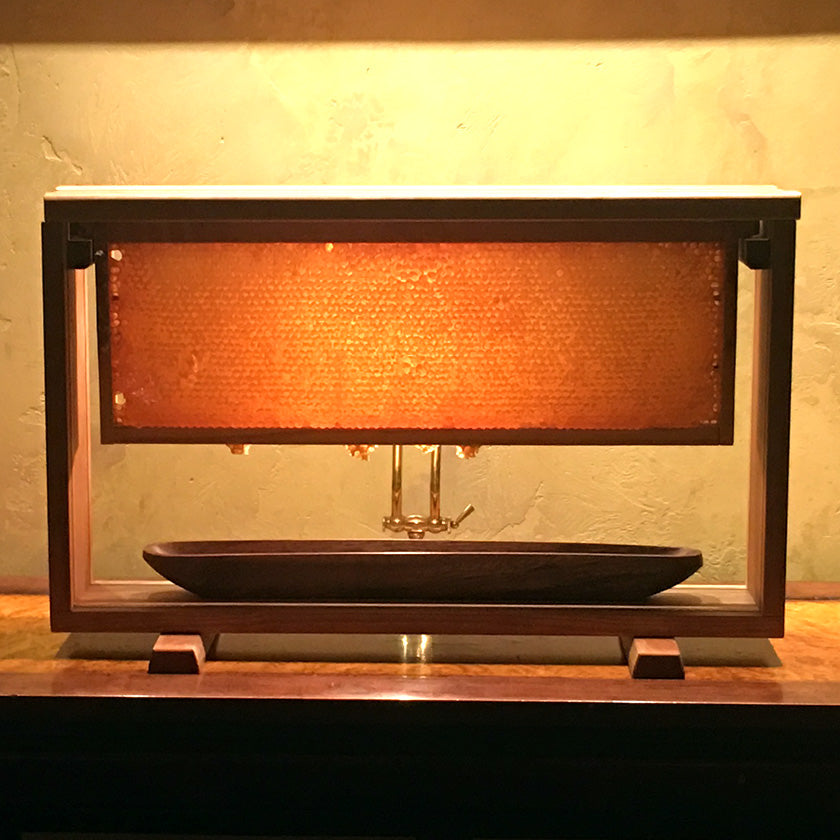
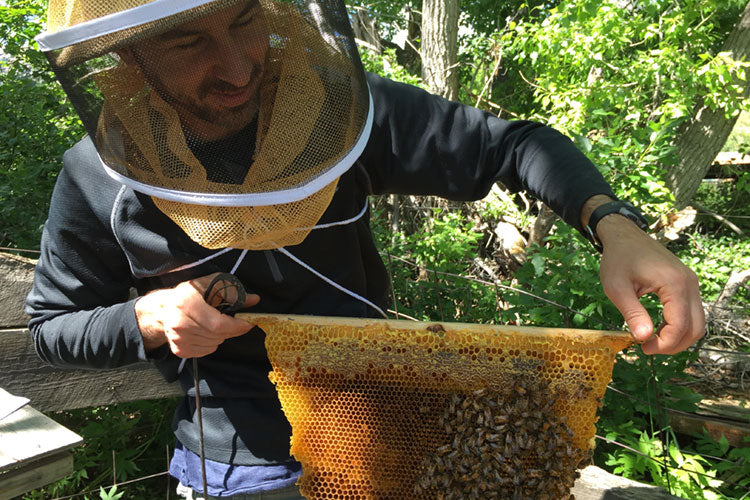
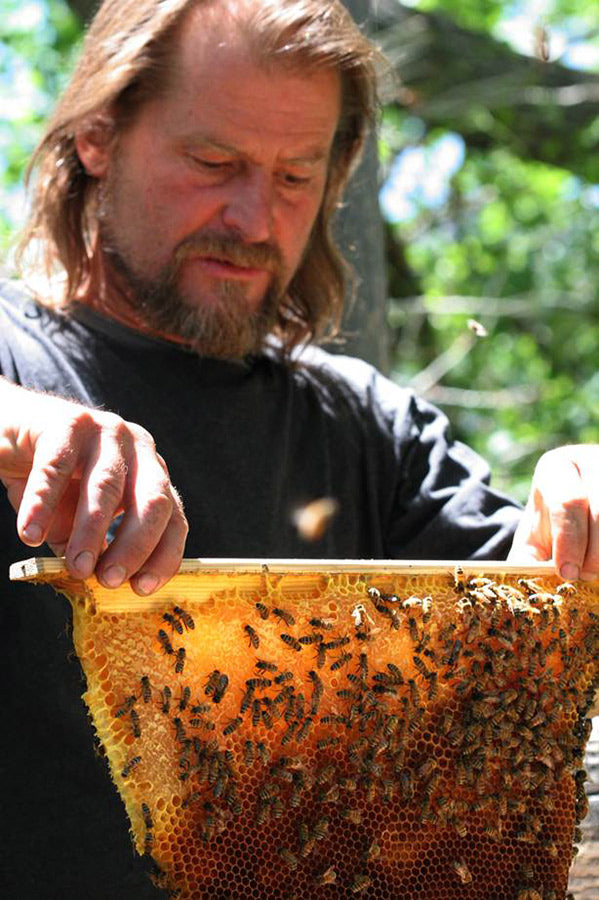
Freshly installed bees in the Cathedral Hive®, looking in from the back of the hive.