The Cathedral Hive - Building from the Hive Plans
Article and All Photos by Corwin Bell
The Cathedral Hive Made Easy
Practical building tips for constructing the new Cathedral Hive from our hive plans. To ensure that hive builders have a good experience and a successful outcome, we have created an image based description of the Assembly of The Cathedral Hive from the Hive Plans.
In this article and image gallery we show the "assembly" process in the wood shop. Demonstrating the parts that need to be created, the steps we use when putting together the hive and the rigs we use to hold the parts together during assembly. We will be adding more photos and descriptions of other steps, so check back for updates.
Individual Parts of The Cathedral Hive

Parts cut for the Cathedral Hive
Please Note:The photo shows only a single window, which is how we construct all are pre-built Cathedral Hives.
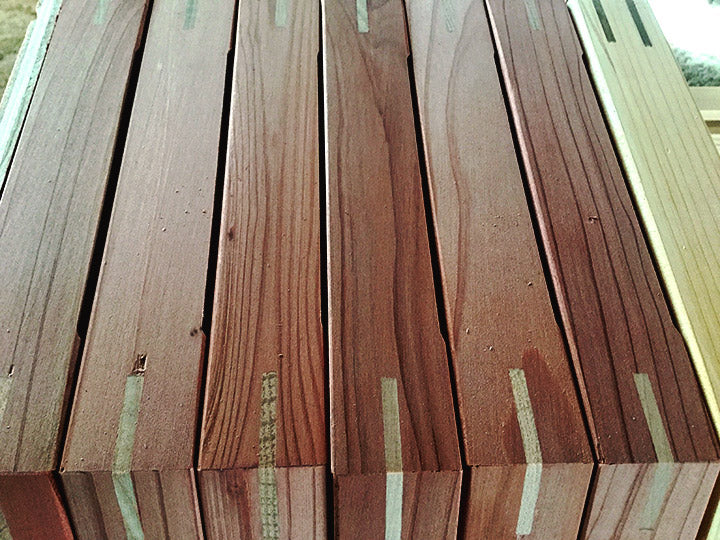
At first glance, The Cathedral Hive Plans seem to be describing a bunch of complicated pieces to make, but as you can see here, there are actually just a few and most of the parts are duplicates of each other. It is easier to think of the hive construction, as a process of creating the individual parts and then assembling those parts in an orderly way.
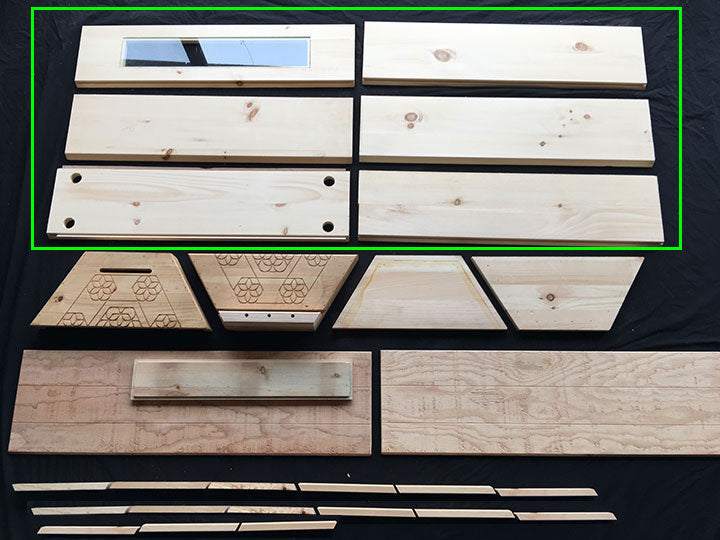
Highlighted hive parts are the 6 Side Panel boards (Upper and Lower Section) for the top and bottom hexagonal hive shape
Side Panels Upper Section & Side Panels Lower Section At the top of the photo you can see we have all six boards for the hexagonal shaped hive.
Length & Width - Nominal Plans = all boards cut at 9 1/4" x 30 1/2"
Length & Width - High Volume = all boards cut at 9 1/4" x 36"
Angle - All Side Panel Boards are cut with the exact same angle
"SET SAW BLADE 30 DEGREES from VERTICAL for CUTTING ANGLES for ALL UPPER & LOWER SIDE PANELS".
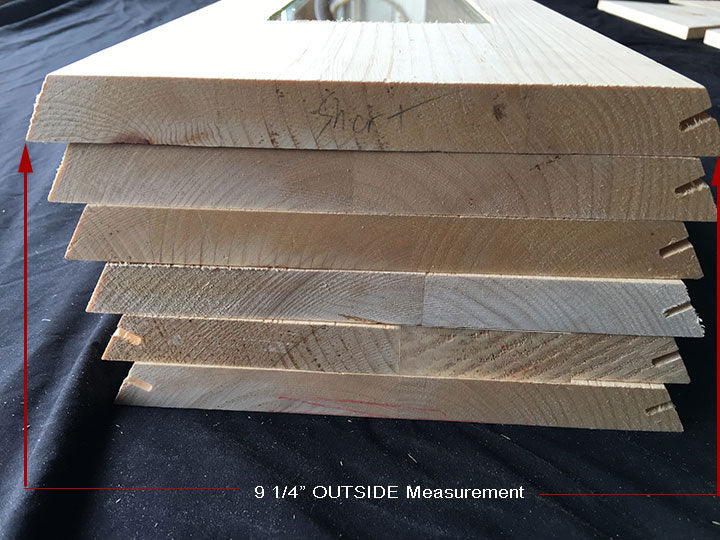
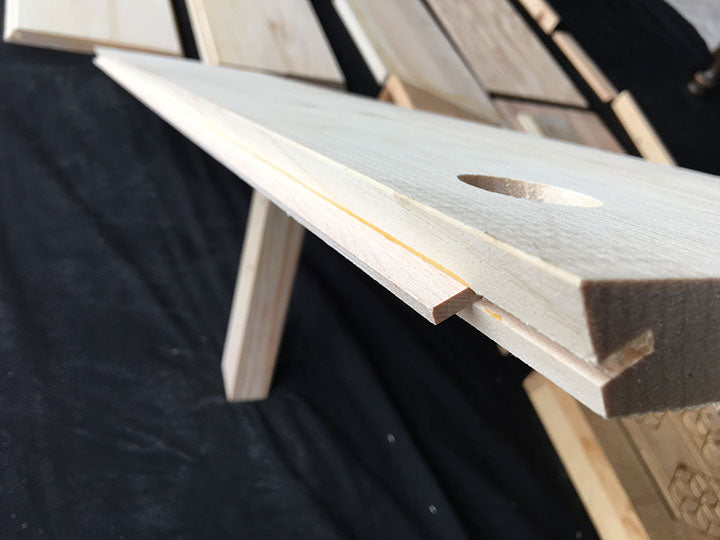
All 6 Side Panel boards for the hive body shape
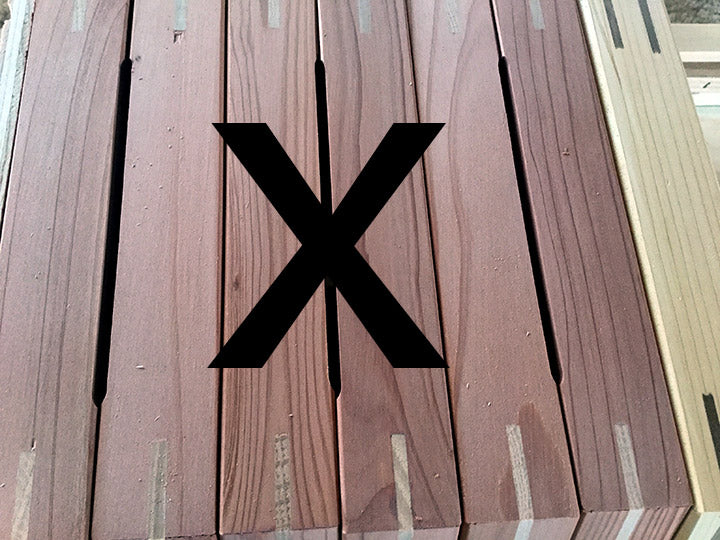
See ! All sides, Top and Bottom sections are the same. Well, Almost !... look closely at the two boards on the bottom of the stack here. These two boards have 2 of the spline joint groves. These boards will be the Top and the Bottom of the hive body respectively.
You can also see that because it can be difficult to get a nice 10" wide board, we glued together 2 boards to get our width.
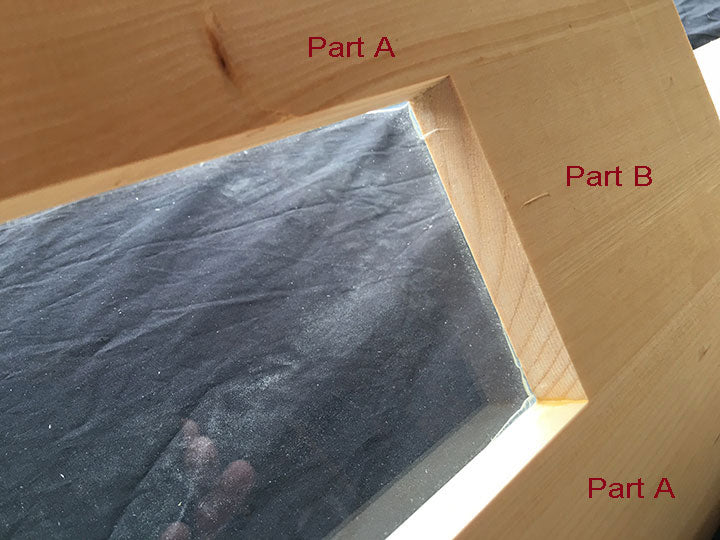
Cathedral Hive viewing window
The only board that is created differently is the window side. The window is either cut out of one board or created with 4 smaller boards which make up a window opening. Other then that, the window board is exactly the same as all the other boards.
Cathedral Hive -Spline if you are using that technique
A Spline Joint is the most durable for the extreme weight and pressure the honeycombs will create on the sides of the Cathedral Hive
Cathedral Hive -Spline Detail
Gluing the Side Panels
See the Cathedral Hive Un-assembled Kitfor in-depth details of building a gluing board jig. Below Dave has his jigs set and is flying through the gluing process.
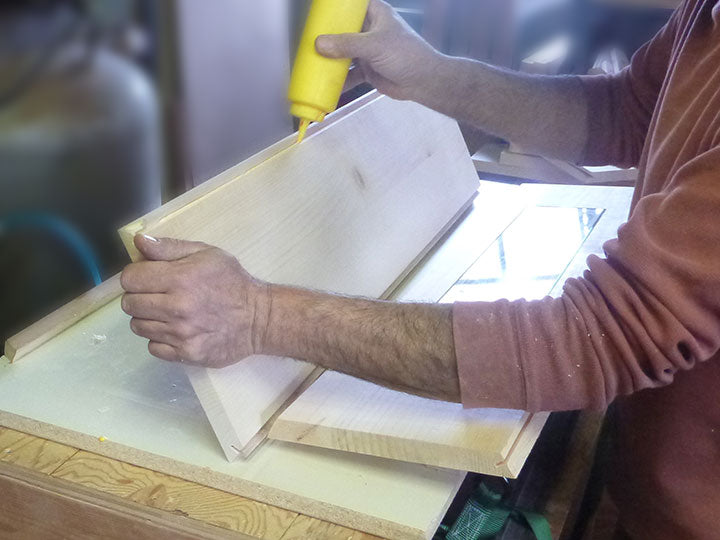
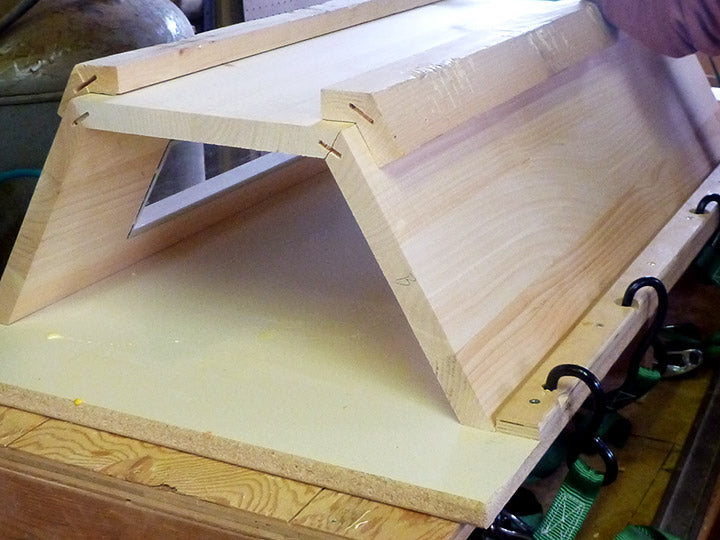
Assembling The Cathedral Hive - gluing the sides together
Gluing the 3 Side Panels together
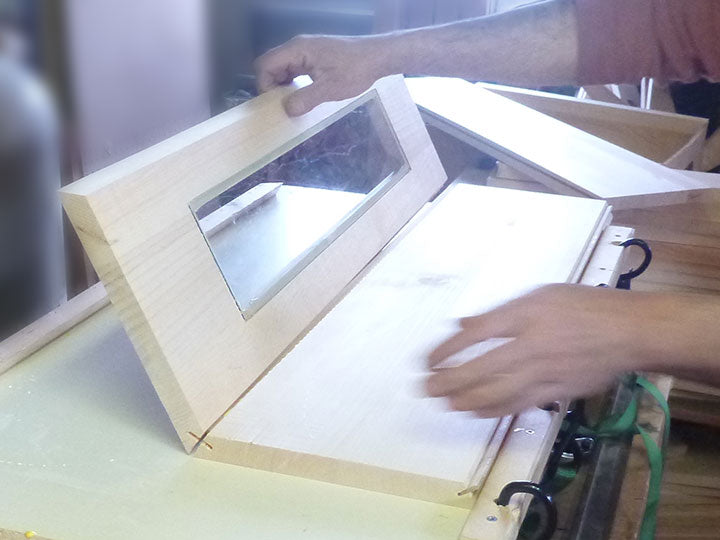
Gluing Side Panels together, make sure Side Panels are flush

3 Side Panels set to dry overnight
See details of making a Gluing Board
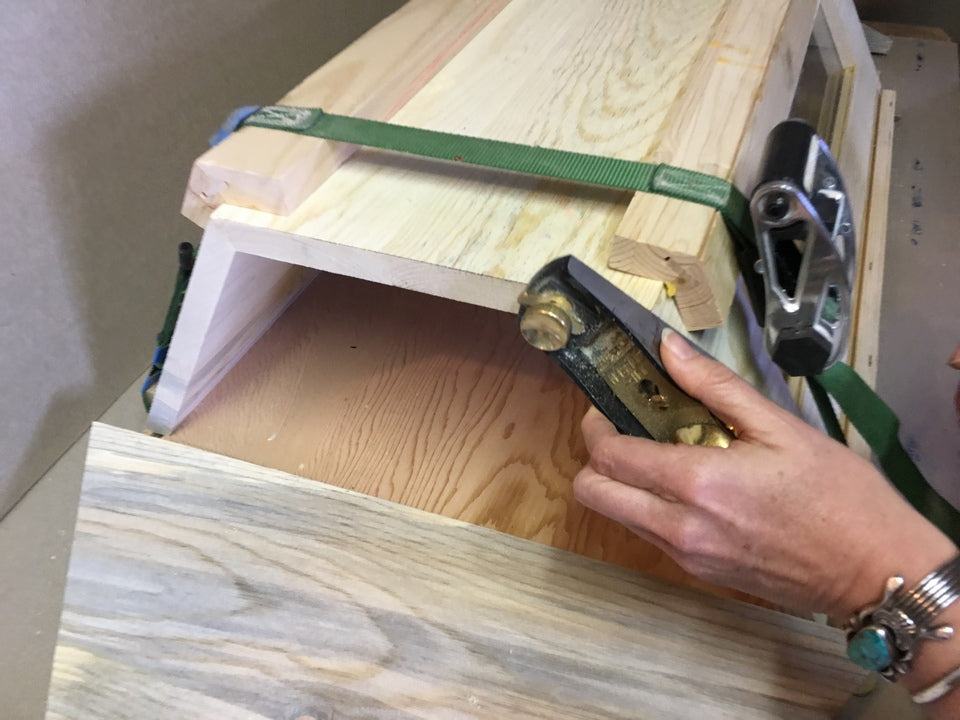
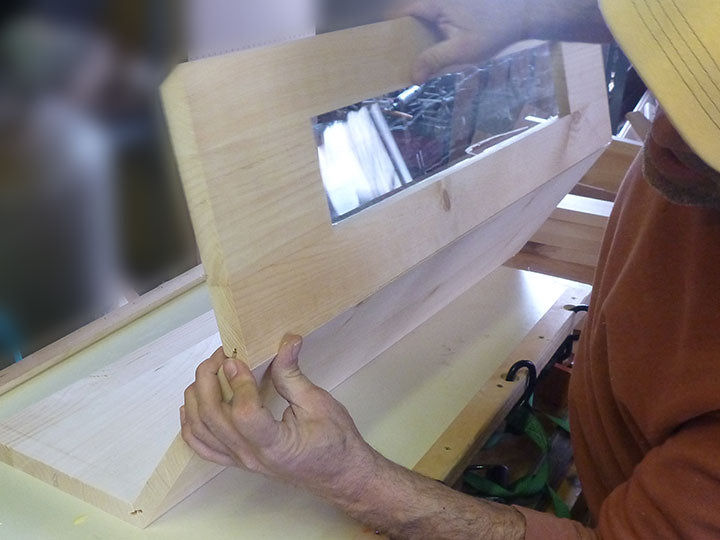
Side Panelsneed to be flush before gluing on Front and Back Boards - hand plane if necessary
Add protection on the corners where the Ratchet Straps will be placed - use cardboard r wood. Here Dave has made wood protection pieces.
Ratchet Straps in place

Ratchet Straps in place and Front & Back Boards ready for gluing

Cathedral Hive - Front Board - Draw line

Cathedral Hive - Front Board - Glue line
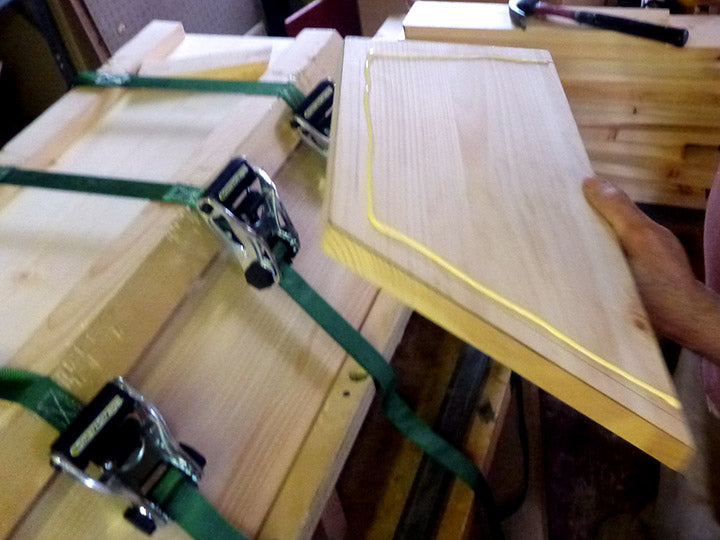
Gluing the Front Board - a bead of glue on the pencil line (see picture above)
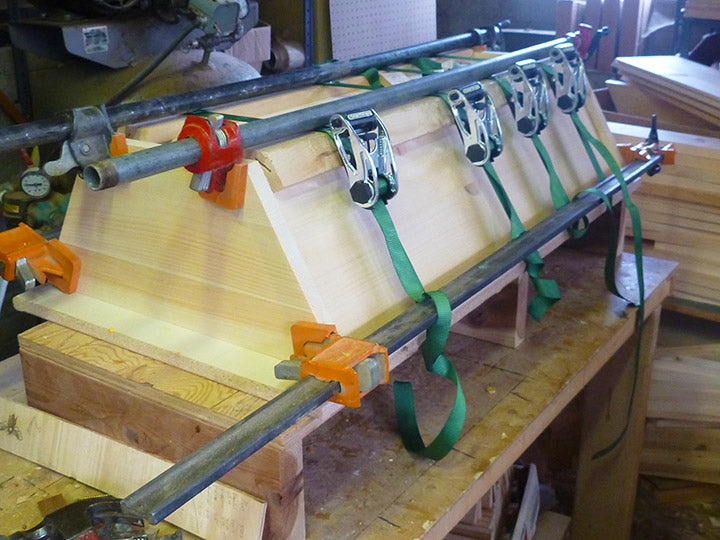
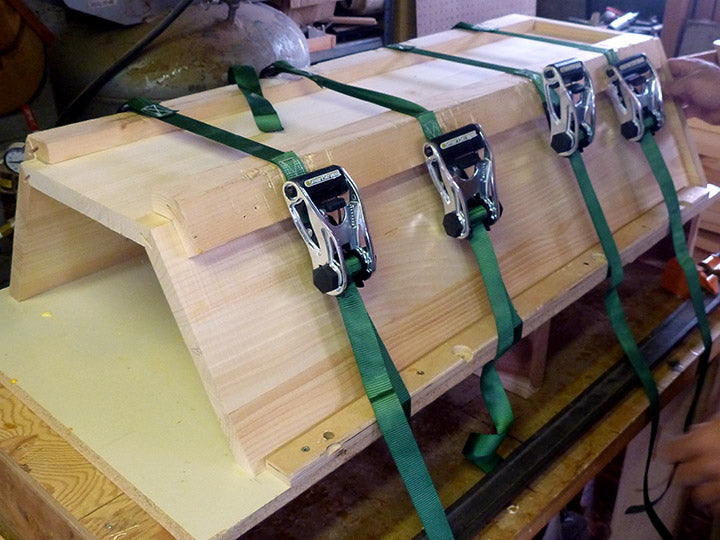
Using Long Furniture Clamps to hold the Front and Back Boards in place
Everything is ready to dry overnight!
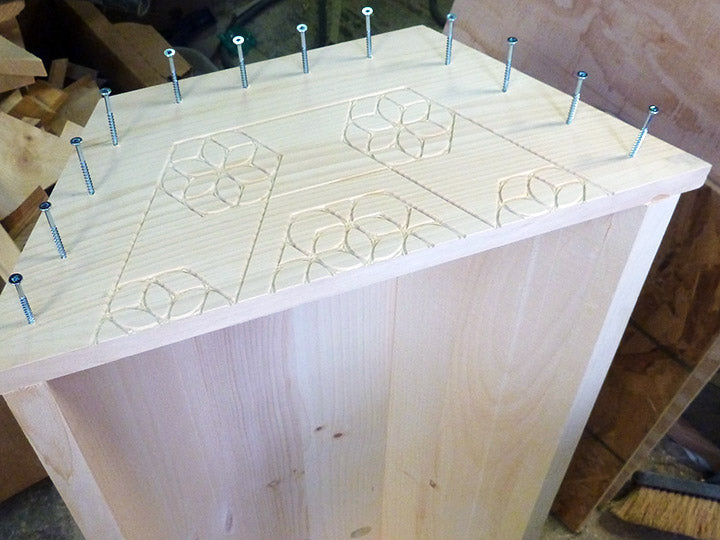
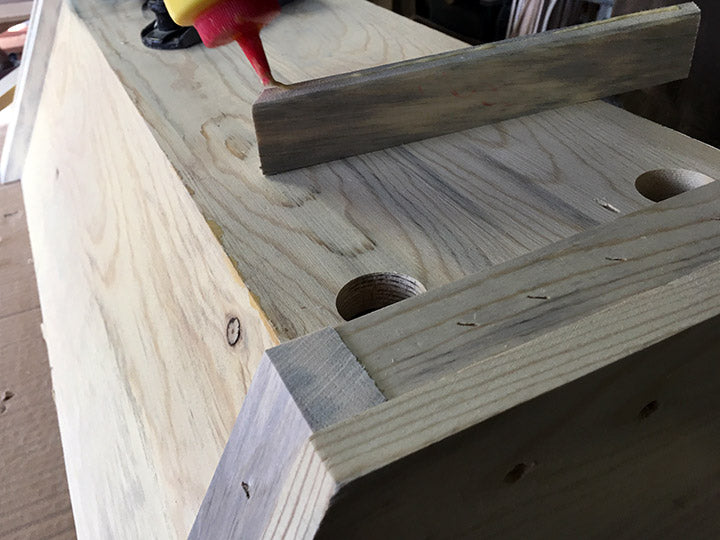
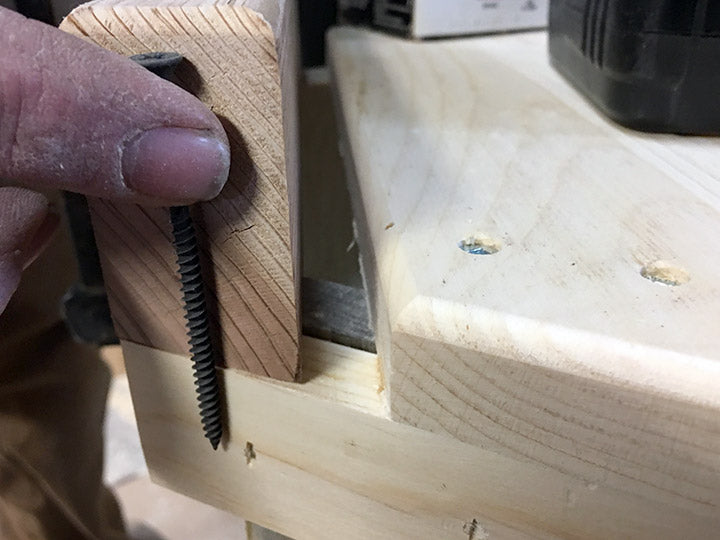
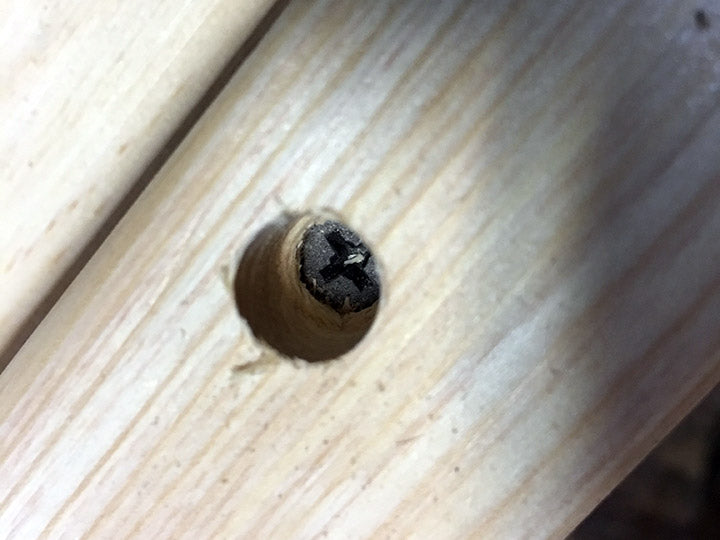
Drilling on the Front Board - after gluing overnight
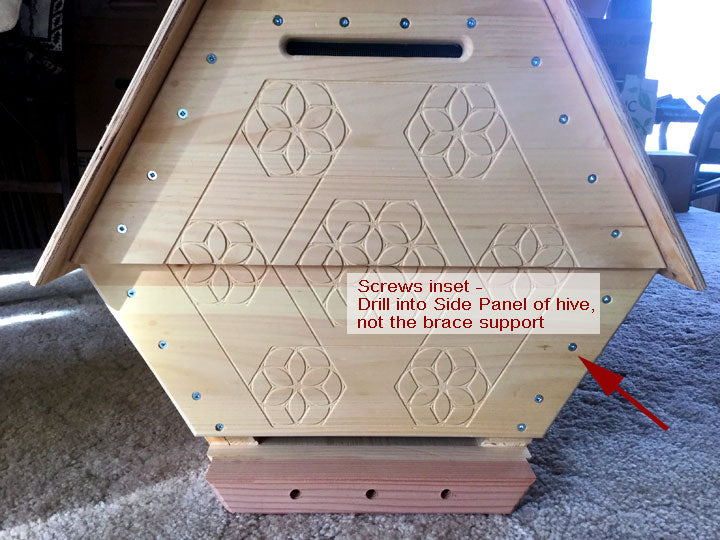
Drilling the Front Board - Screws inset - Drill into Side Panel NOT the Brace Supports
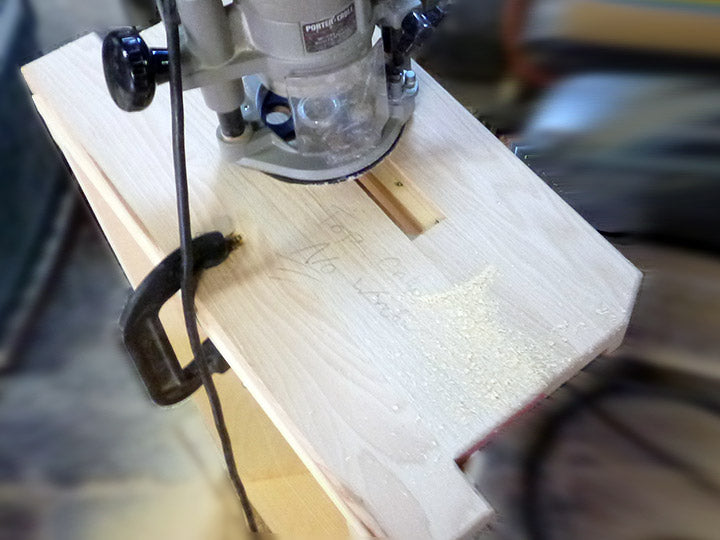
Front Board - Upper Section - routed Vent Slot
Here Dave is using a jig to route the Vent Slot
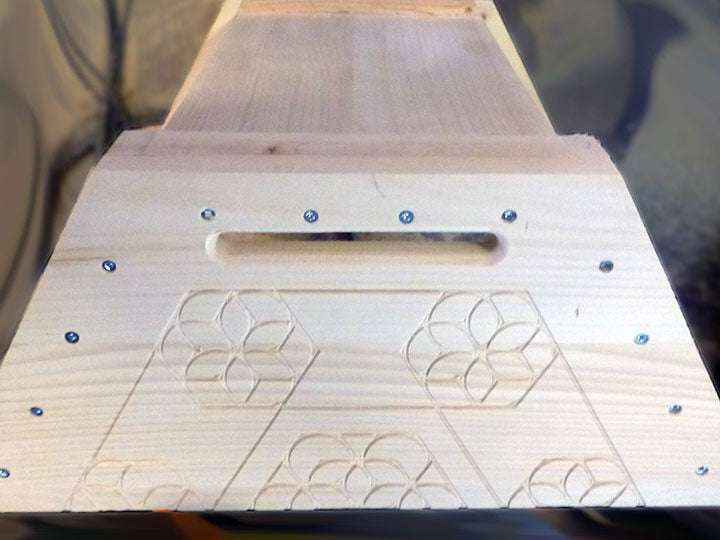
Front Board - Upper Section - routed or cut Vent Slot
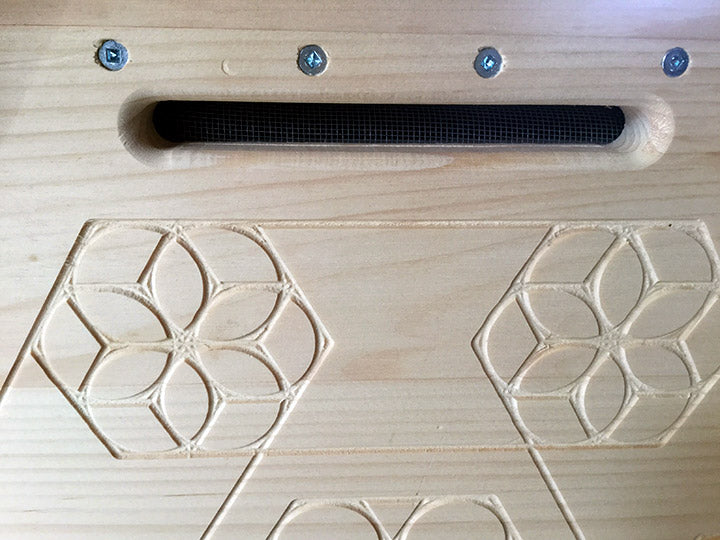
Front Board - Upper Section - Vent Slot Meshing
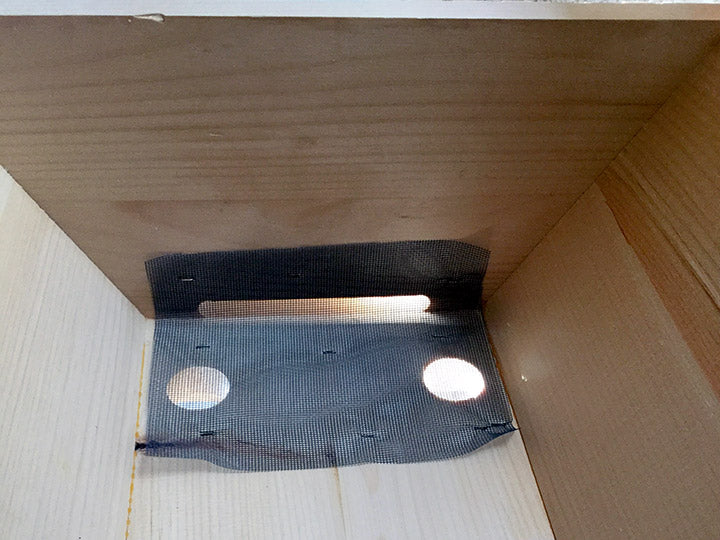
Upper Section - Vent Slot Meshing stapled- upside down view

Brace Supports - add needed support to the Side Panels for the weight of the honeycomb pressure

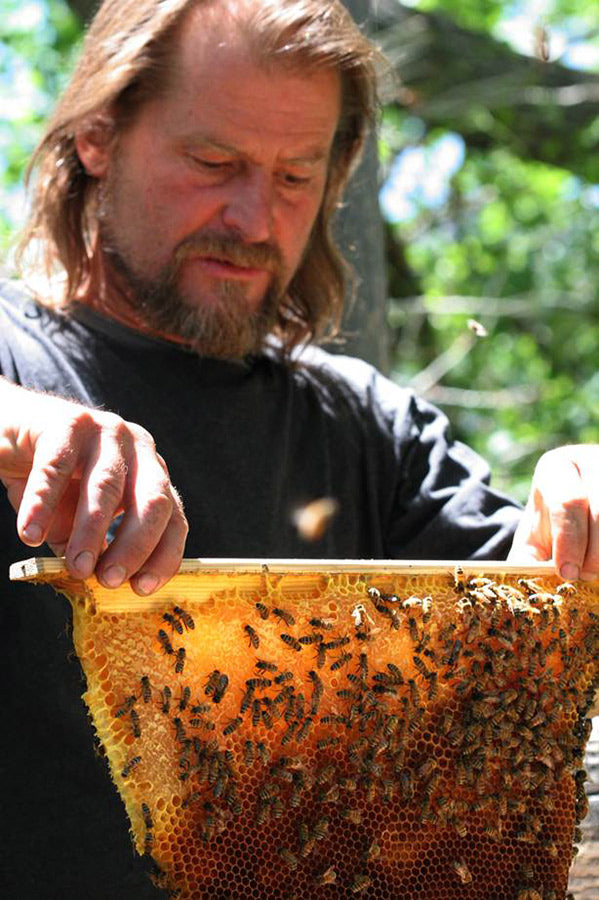
Cathedral Hive Hexagonal Honeycombs - Each combs will be 10-15 pounds each x 2-23 bars adding pressure to the Side Panels - so ensure your spline or joint connecting the Side Panels is solid

Brace Supports

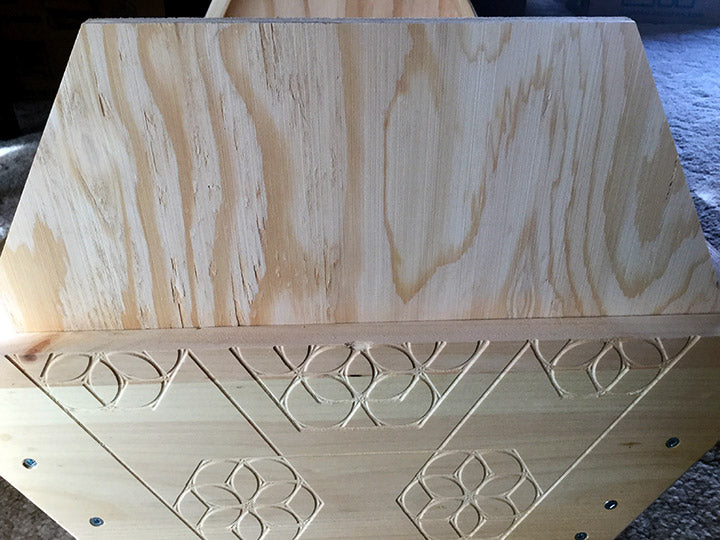
Brace Supports - around a Front Board engraved panel
Brace Supports - ready for gluing and stapling
Brace Supports -
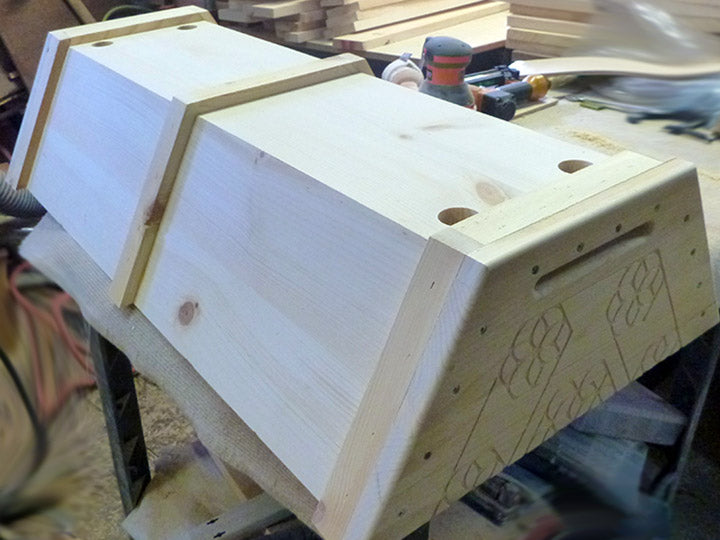
Brace Supports - Upper Section - all 9 Brace Supports glued and stapled into place

Side Roof Panels - Upper Section - Clamped for glue drying
Side Roof Panels & Brace Support - Upper Section detail at front of hive
The Side Roof Panels glued and drilled onto Brace Supports
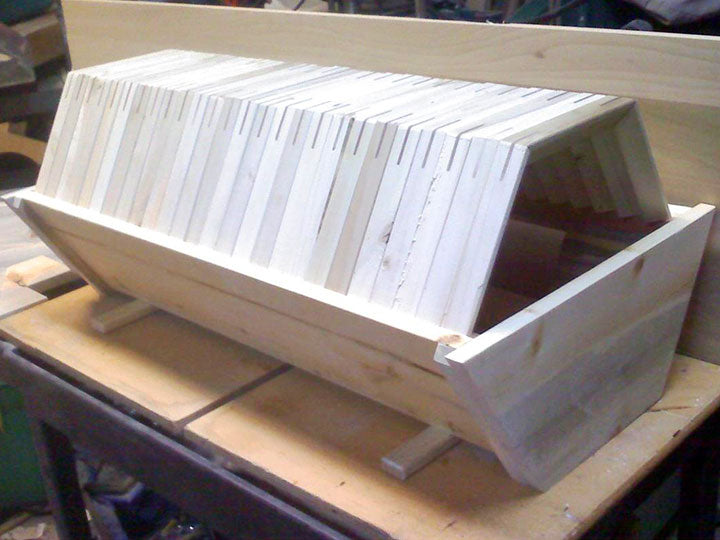
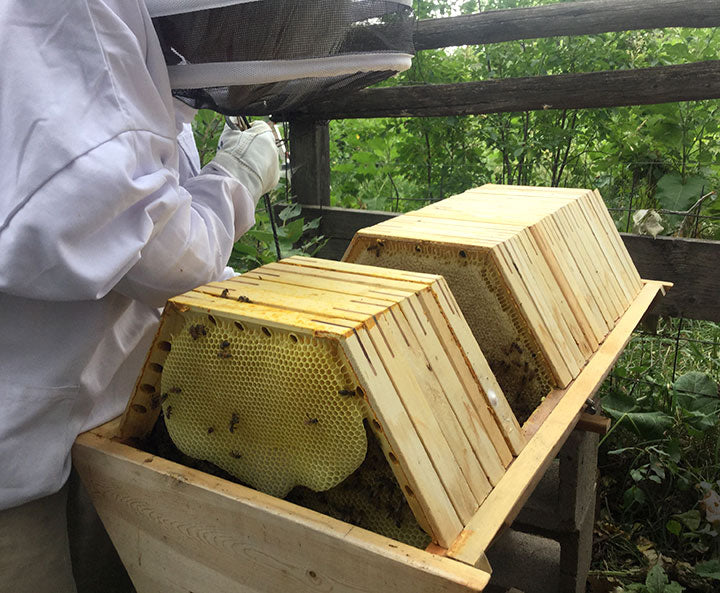
Lower Section- with Cathedral Bars in place
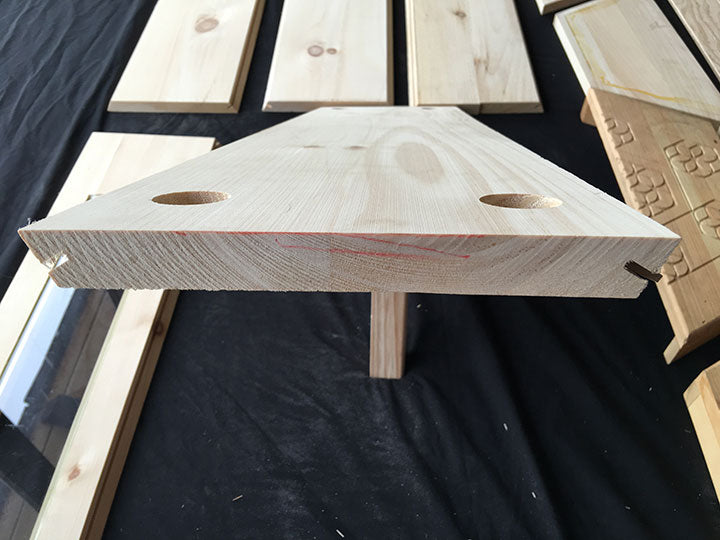
Landing Board
Landing Board screw into Brace Support not Side Panel
Landing Board counter-sink
Front Blank Board in place
Side View of Front Blank Board
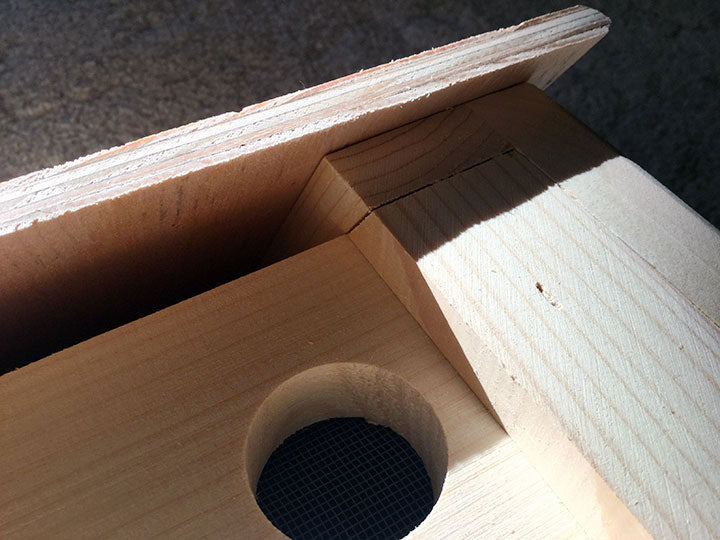
Place the Support Ledgeclose enough to the Front Blank Board so there is no gap that a bee can crawl through
Cathedral Bars -in place, vent slots face same direction
Cathedral Bars- incorrect setup of bars, Vent slots need to face the same direction
Cathedral Bars- incorrect setup of bars, Vent slots need to face the same direction

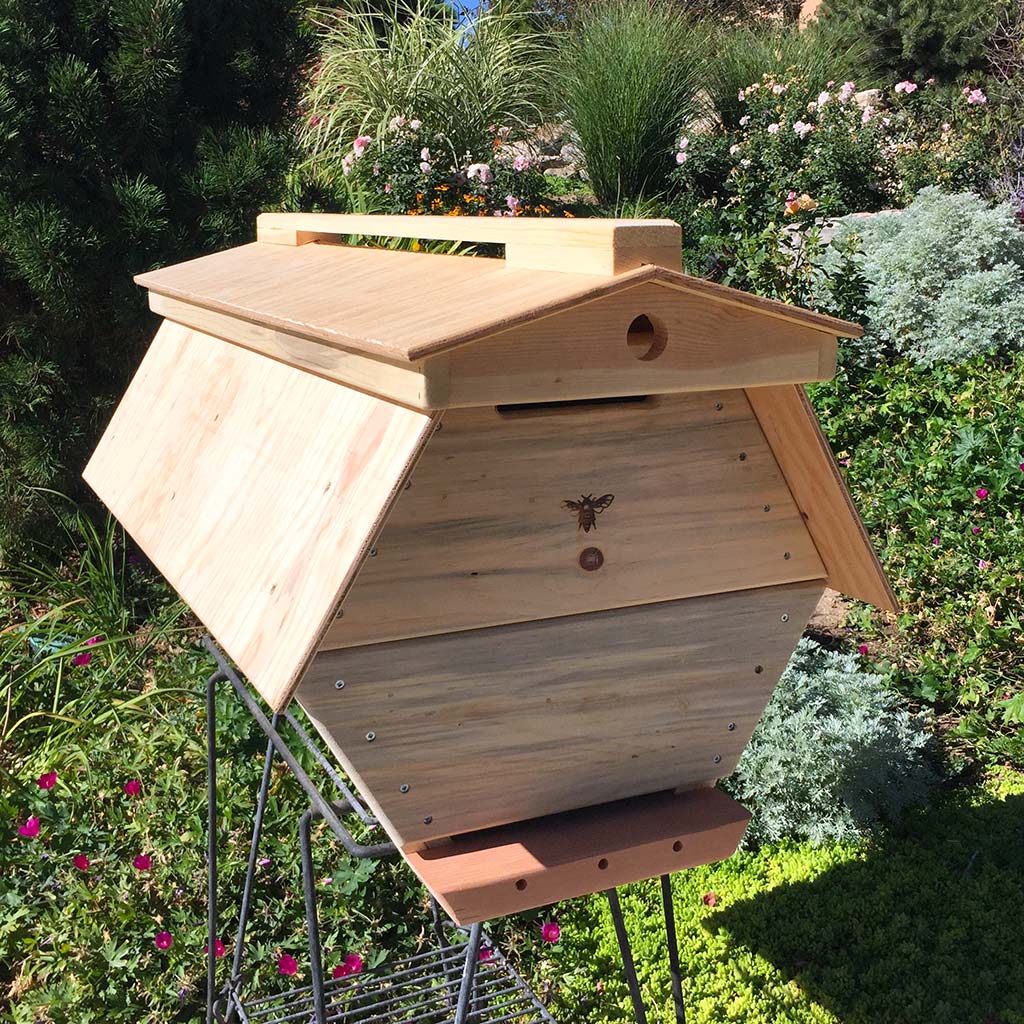
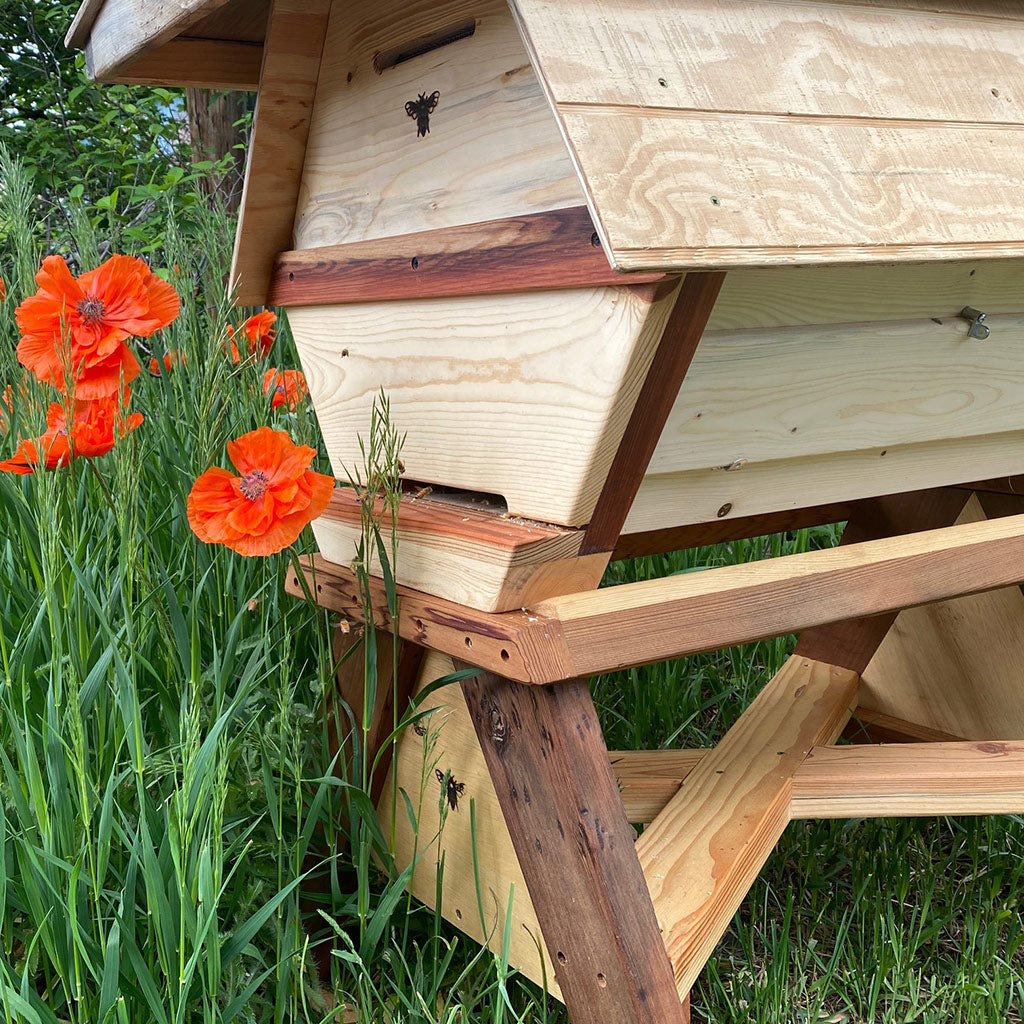
Cathedral Hive - ready for bees!