Painting Your Top Bar Hive and Ventilated Roof
We have designed our hives at BackYardHive to have good longevity without painting. This includes choosing wood with minimal, cambered, end grain on the side panels and orientating the panels inward to minimize warping. The holes in the hive are all pre-drilled and counter sunk to limit splitting. Not painting the hive is based on the holistic approach to beekeeping. We believe paint fumes can interfere with the bees’ pheromone-based communication. There are, however, several natural alternative paints. Keep in mind many natural paints have beeswax as an ingredient. If you have bears, like I do, you don’t want to use these. But if no bears then below is a great Linseed/Beeswax recipe that is non-toxic to bees and provides some moisture protection while conditioning the wood.
You will want to paint your Ventilated Roof as it receives the most sun, rain and snow. You can use some of the options as mentioned above, any non-toxic paint.
Painting your hive really comes down to personal philosophy. I suppose science could find nothing dangerous to the bees if the hive was painted with non-toxic paint, but from a Bio-Dynamic point of view, chemical paint is "Energetically" not appreciated by the bees.
When I showed the Backyard Hive to Günther Hauk when he was visiting during the summer he spoke in detail about the importance of not painting the hive. Günther is a highly sought-after speaker on Bio-dynamic gardening and runs several natural beekeeping seminars a year at Spikenard Farms in Virginia. See the link to Günther’s book below. I would really suggest this book as it talks about many of the aspects of holistic beekeeping that you will not find in most books on bees.
Small cracks are going to develop in the hive, whether painted or not, but the bees will seal these up with propolis.
Natural Alternative Paints: Low-VOC Paints
Günther Hauk’s book can be found on our site's Books and DVDs page: Toward Saving The Honeybee
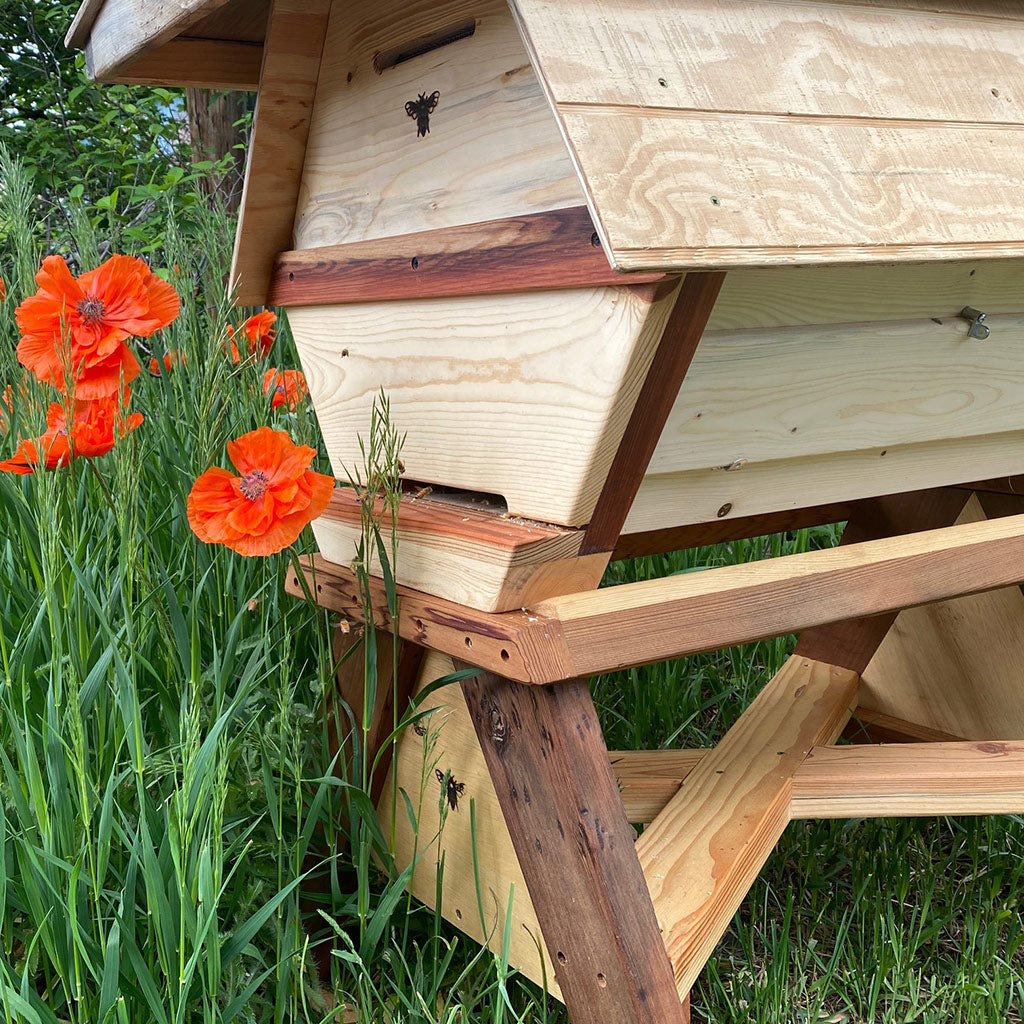
Do I need a Pitched or Gabled Roof for my Bee Hive?
Yes, you want some type of roof for your hive to protect your hive from the weather elements, sun, rain and snow. The Cathedral Hives® come with a Ventilated Roof. The Golden Mean Hive has the option to add a Ventilated Roof.
Our Ventilated Roof designs are modeled after the way that most house roofs are constructed, with a vented peak and is designed to breathe and create a lot of air exchange through natural, micro convection to allow proper ventilation for the hive.
You can purchase a roof or build one yourself.
If you want to build your own 'roof' find some water-proof material to place on the top of the lid of the hive. Corrugated plastic works well for protecting from the elements and offers a small amount of air flow across the flat lid for some ventilation.
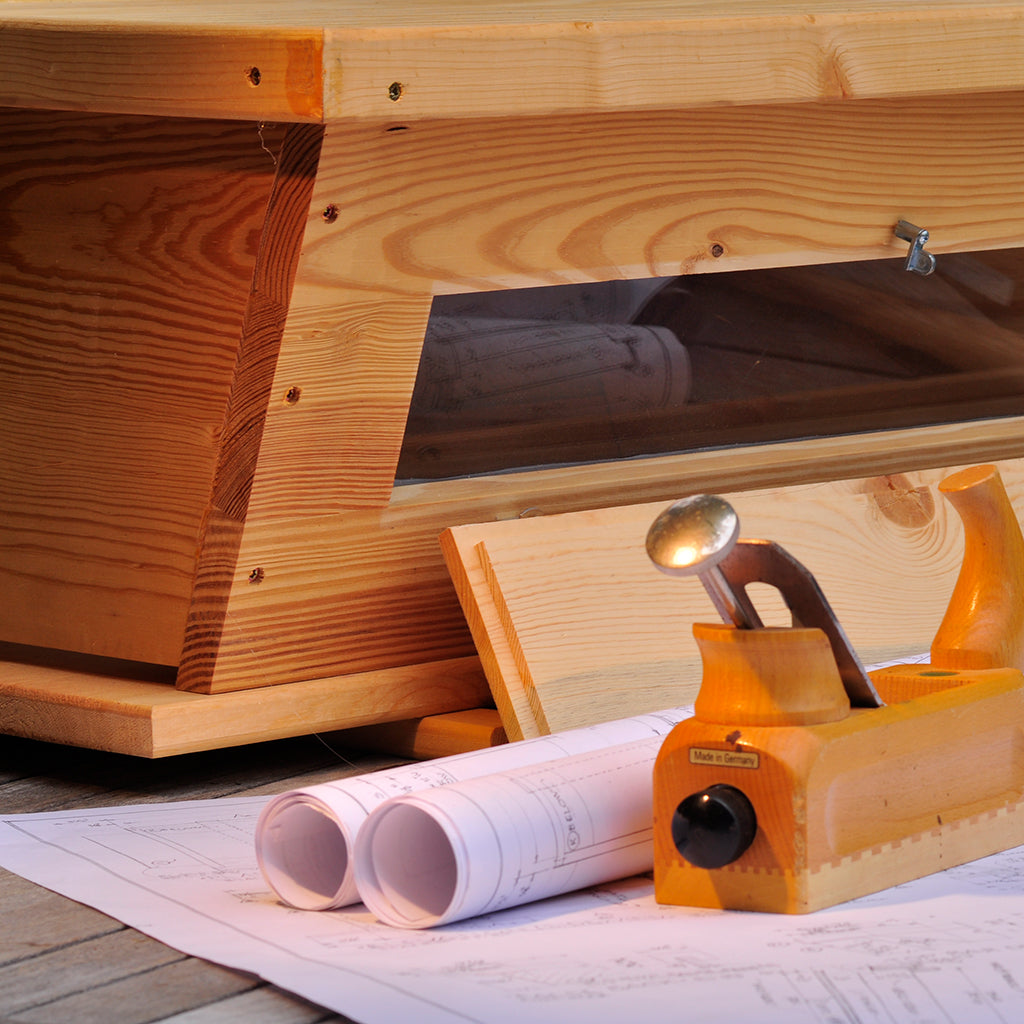
Hive Plans for the Ventilated Roof to build your own. These plans include all 3 Roof designs, The Golden Mean, the Original BackYardHive and the Cathedral Hive®
Painting/Weatherizing your Ventilated Roof
Yes you will want to paint your Ventilated Roof. Refer to the weatherizing options above about Painting Your Hive
Do I use both the flat lid of the hive and the Ventilated Roof on my hive?
Yes, both the flat lid of the hive and the Ventilated Roof stay on the hive all year round. The flat lid of the hive covers all of the top bars and keeps light from entering the hive. On occasion the top bars will have a small gap where light can enter the the hive when the bees start to build comb and propolize the bars, the bars may shift a tiny bit letting light in. The lid is also extra insulation from cold and heat. The Ventilated Roof goes over the flat lid of the hive.
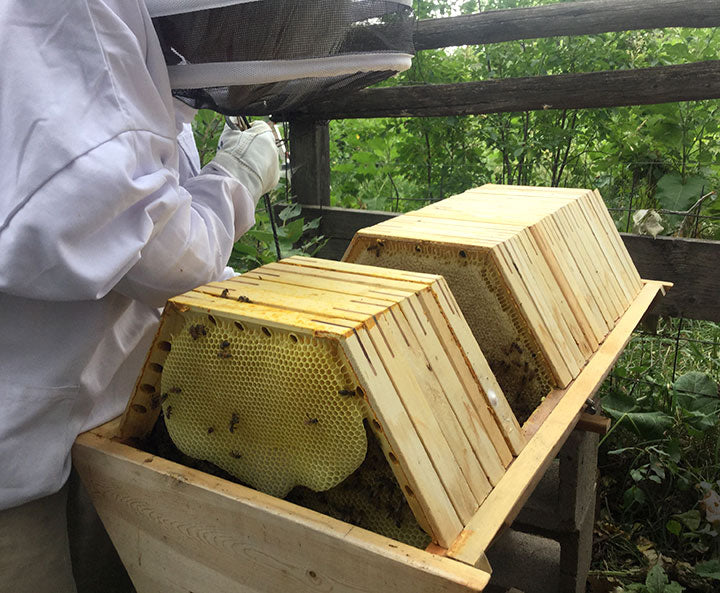
What is the purpose of the falseback?
1) The falseback, also know as a divider board, creates a false wall indicating to the colony the amount of space they have in their hive. The bees will calculate how large to grow the colony from this perceived amount of space. The falseback is kept at the very back of the hive during the spring, summer and fall and only moved forward temporarily for installing bees or for winterizing your hive.
2) When you initially install your bees into the hive you want to place the falseback in about the middle of the hive and install the bees in front of the falseback. The bees will start to draw out comb on the bars at the front of the hive. This will establish the broodnest area for the colony towards the front of the hive. Important: After 3 days of installing your bees move the falseback to the very back of the hive. Otherwise the bees will calculate that their hive space as only half the hive.
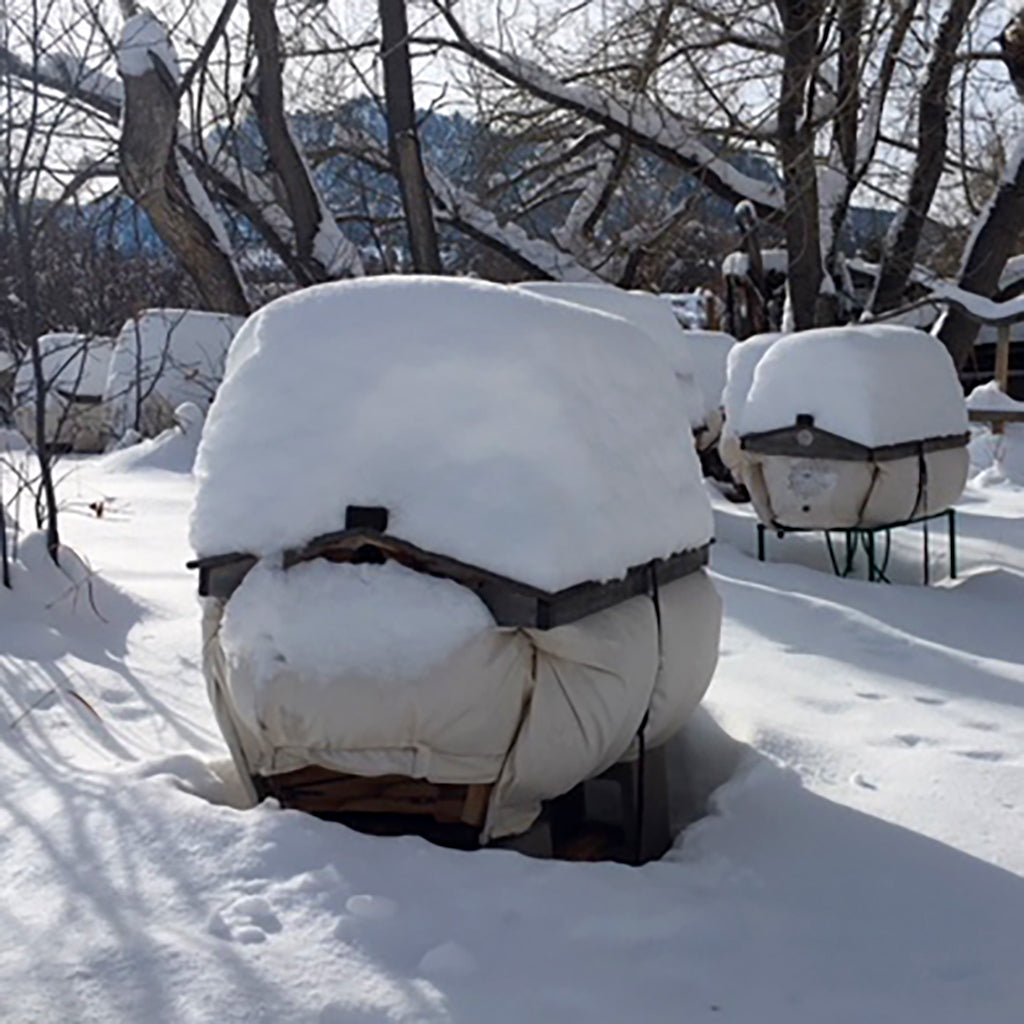
3) In the fall when you winterize your hive you will move the falseback forward placing it behind the last full comb in the hive. See more about Winterizing your Beehive.
4) The falseback can be used when working the hive. When you remove a few top bars to work the hive, the bees may start to get agitated and you want to take a pause in working the hive. Place the falseback behind the last bar, closing the opening you created. This gives you and the bees a break before finishing up your work in the hive.
Linseed Oil and Beeswax Recipe
4 cups of Raw Linseed Oil (raw is important, some Boiled Linseed Oils have lead in them)
1 ounce of Natural Beeswax
In an old pan that you don't use for cooking. Gently warm the wax on a low setting to melt, keep if below 150 degrees as wax is combustible! And add the Linseed Oil before the wax is fully melted to avoid clumping, again keep the setting low.
Now the mixture is ready to apply. Use an old brush or rag to apply on the untreated wood. You may want to add more than one coat but you will need to wait at least a week for the first coat to dry.