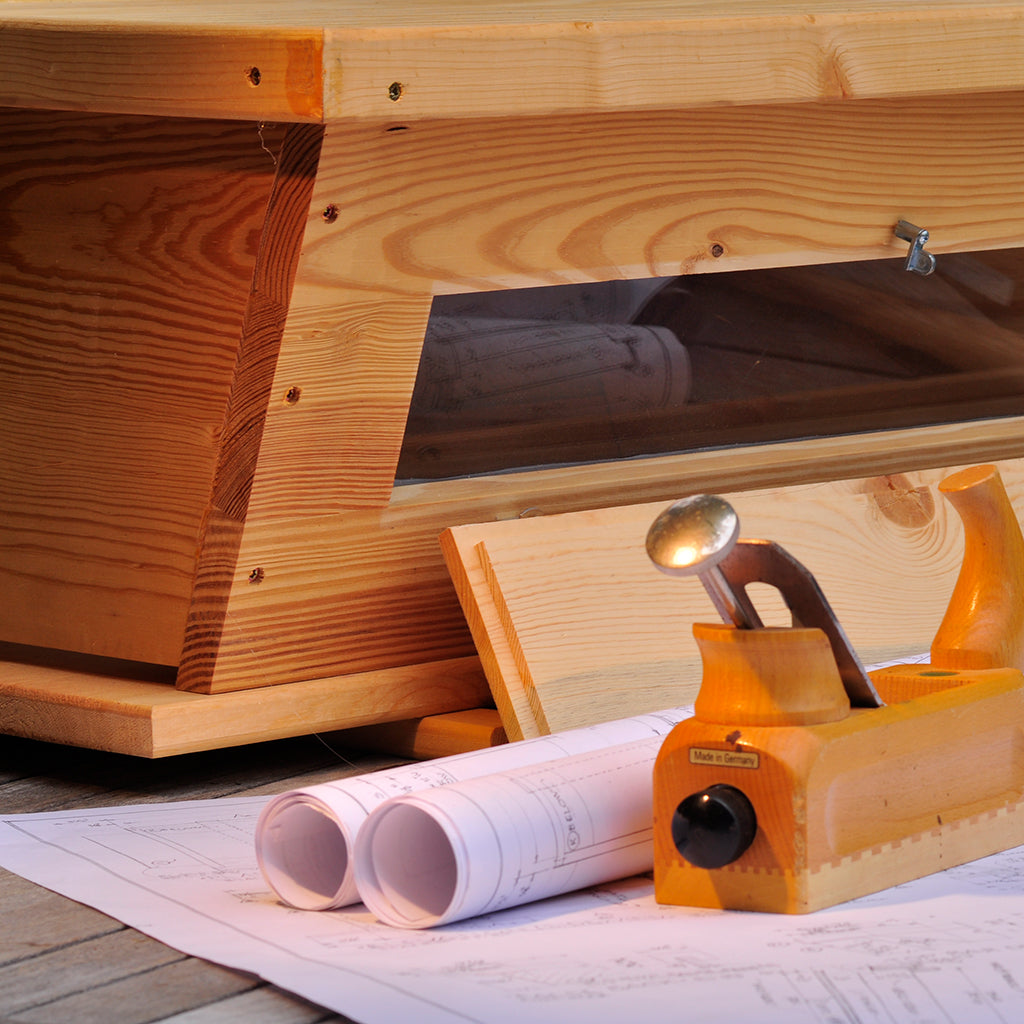
The Kit comes with detailed schematic plans for assembling.
4-08-22- UPDATE We now ship the kit with an easier process to glue the boards together. Instead of making a gluing board jig we now pre-assemble the Hive Ends for easy gluing up of the side panels
Step 1: Lay out 3 sides of the hive to prepare to tape them. We use Clear Gorilla Tape it works extremely well for this process. Below are the Upper Section sides. Note the middle side has the 4 vent holes drilled in it. Here we re wiping off the dust to prepare to tape.
Step 2:
Measure 1-1/2" from the edge of the side. This is the width of a brace. You do not want tape in this where the brace will be
Step 3:
Ready to tape the sides together temporarily so we can easily align them into the pre-assembled Ends
Step 4:
Apply the tape where the 2 sides lie next to each other. Avoid taping to the edge, leaving 1-1/2" away from the edge of the side.
Step 4: Cut a short piece of tape to tape perpendicular across the long piece of tape you just applied
Step 5: Now that you have the sides taped together you want to flip the sides over to apply the glue down the grooves channel between the sides You can see how easy it is to move the 3 sides together since we have just taped them together.
Step 6: Get your Sides and Ends ready to glue. You only have about 10 minutes before the glue dries too much to assemble the Sides to the Ends. We use TiteBond III wood glue, best waterproof and dries slowly. Squeeze a line of glue along the entire edge of the groove channel between 2 sides
Step 7:
Use a brush to spread the glue on the entire long edge of the side. Wipe excess glue if it goes over the edge
Step 8:
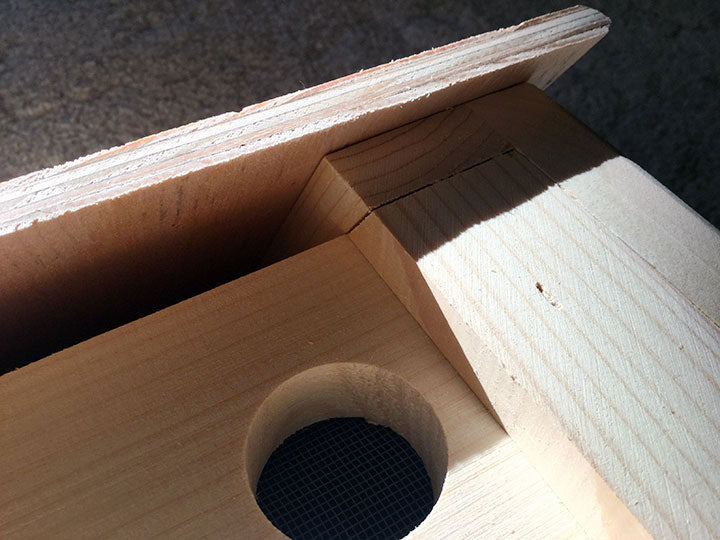
Now apply glue the to the Ends. Note that the Upper Section Ends have the vent slots in them Apply the glue to the 'brace' inside only
Step 9: Prepare the Ends on a flat surface, stand them on end 28-29" apart
Step 10: Place the Ends 28-29" apart and fold the sides together and place them 'into' the Ends
Step 11:
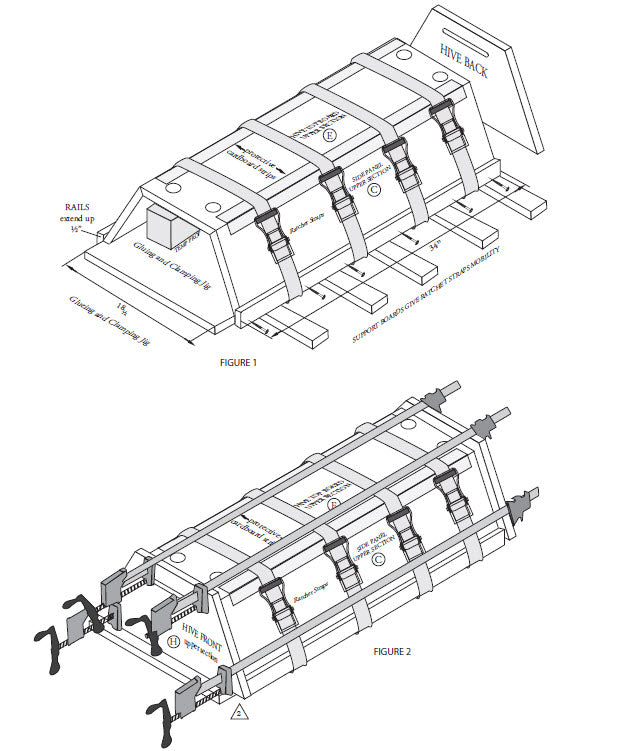
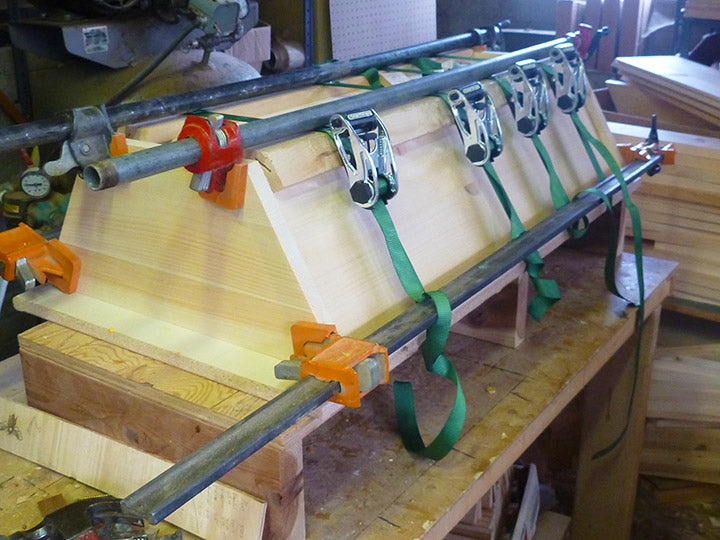
Step 11: USe rachet straps or long Clamps to hold the sides and ends together. YO want a tight hold. Let set 1 hour.
Old photo without the Ends having braces pre-attached
The Cathedral Hive Side Panels and Front & Back Boards drying overnight
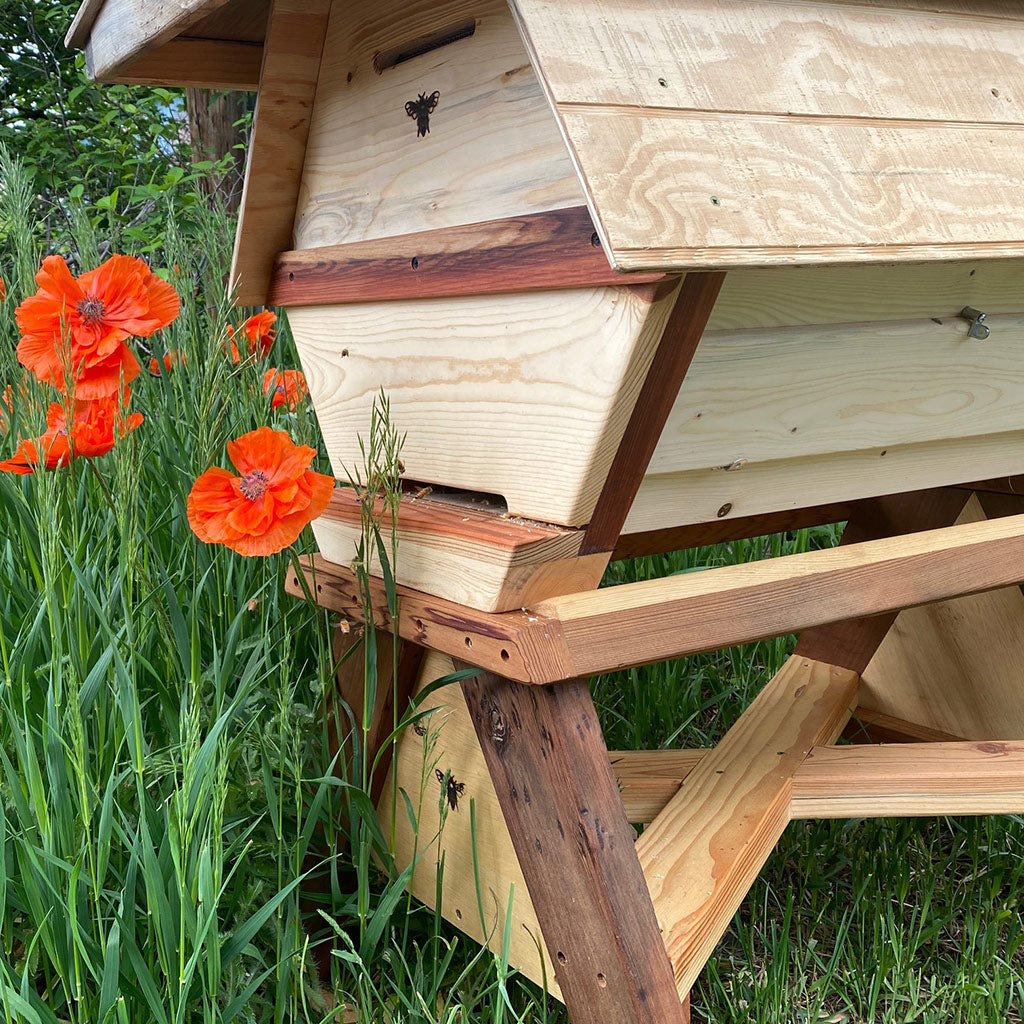
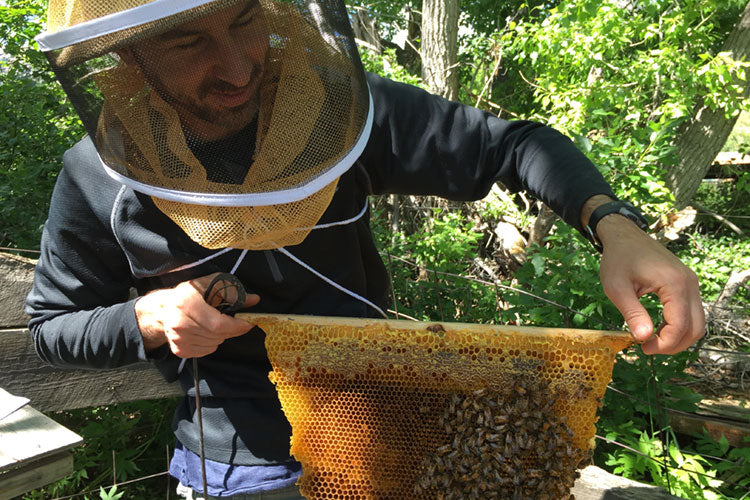
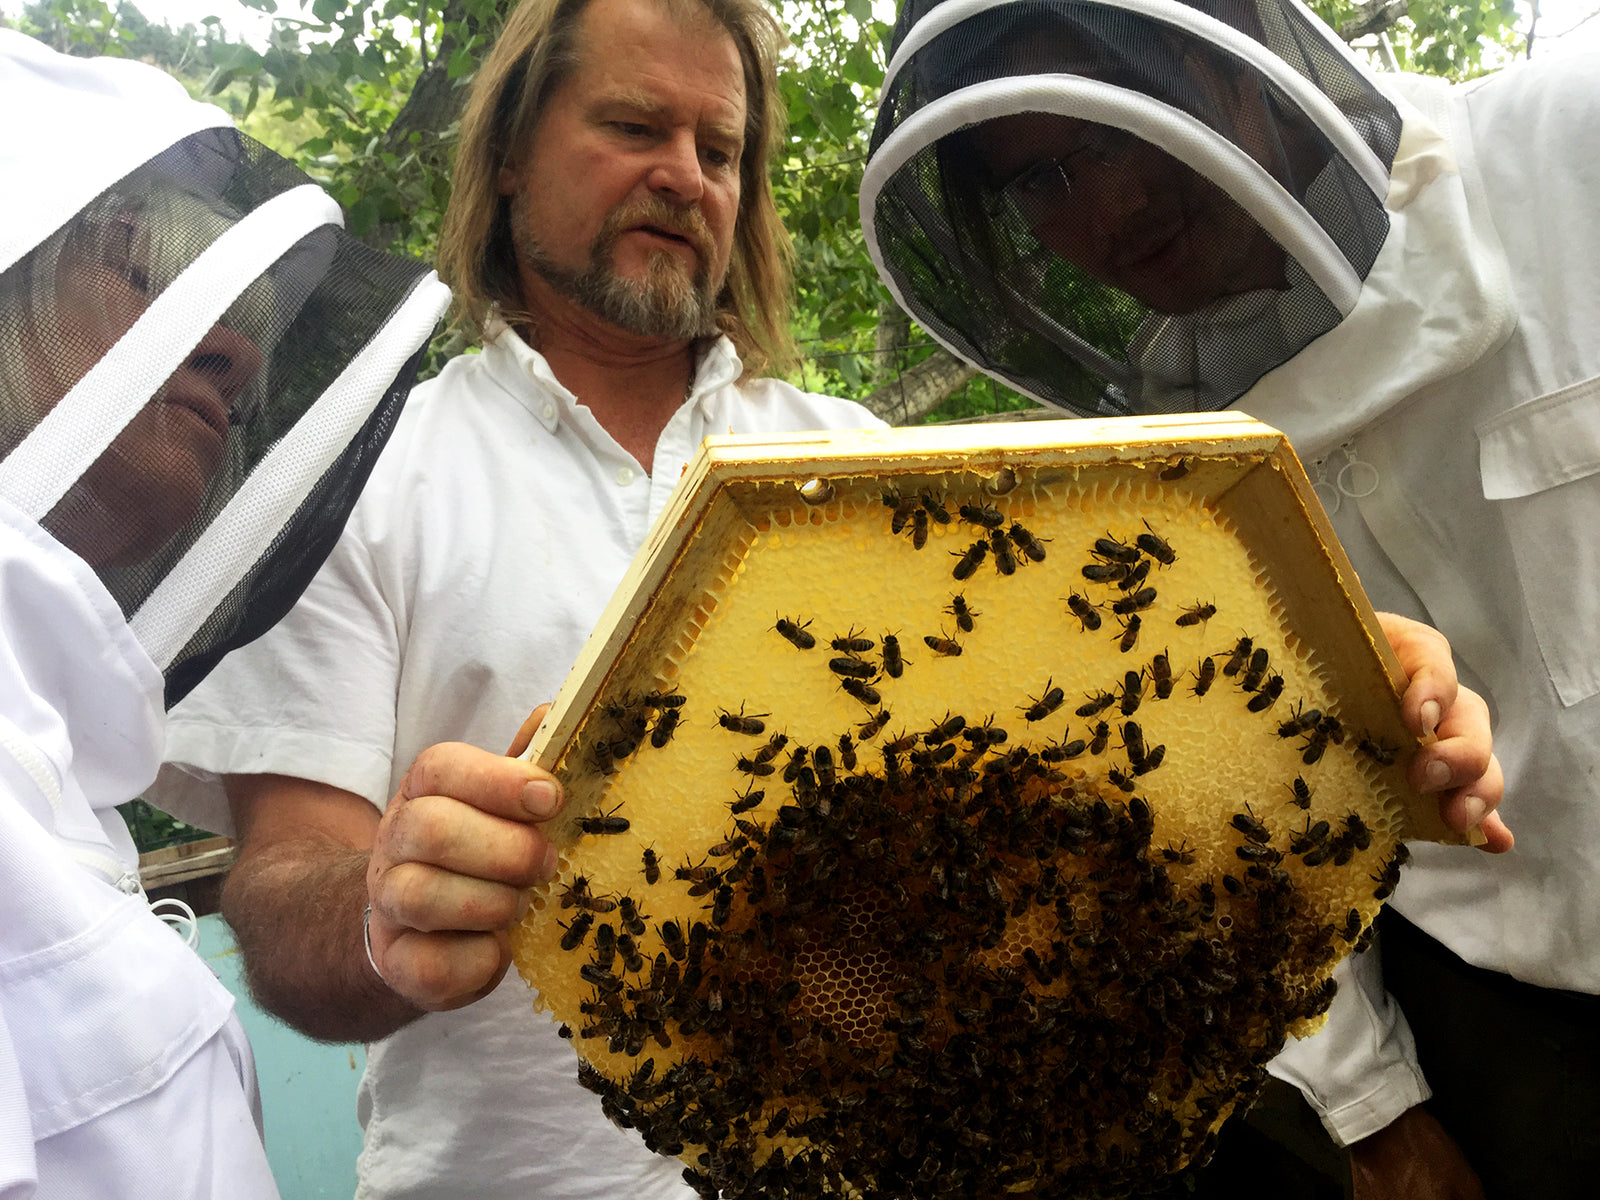
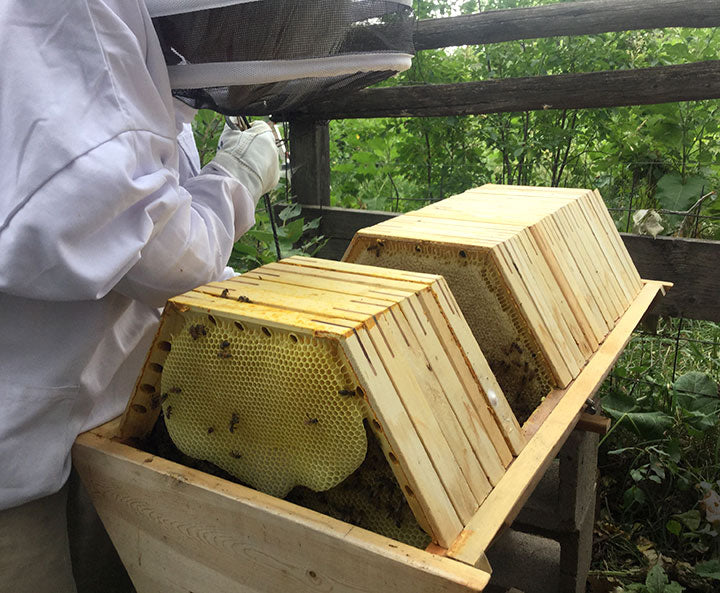
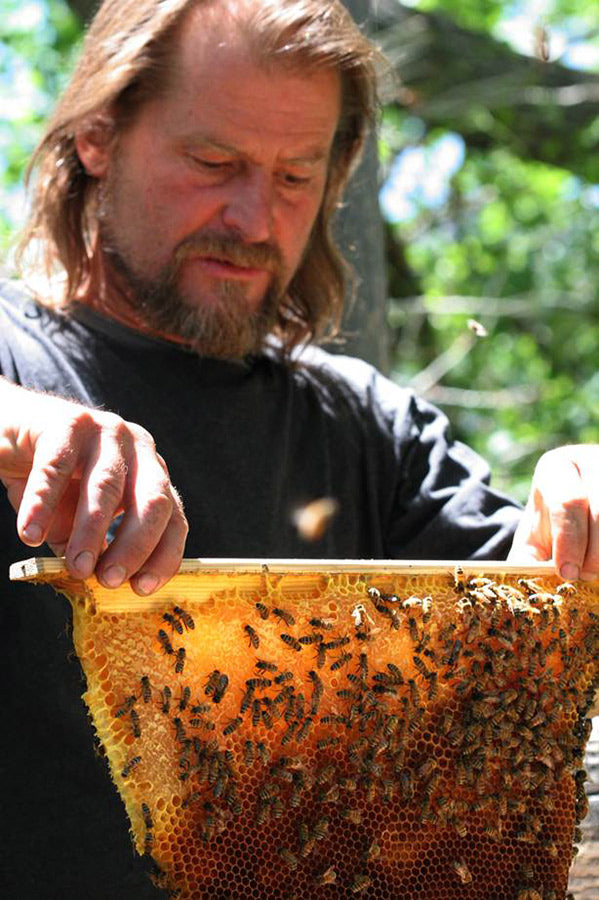
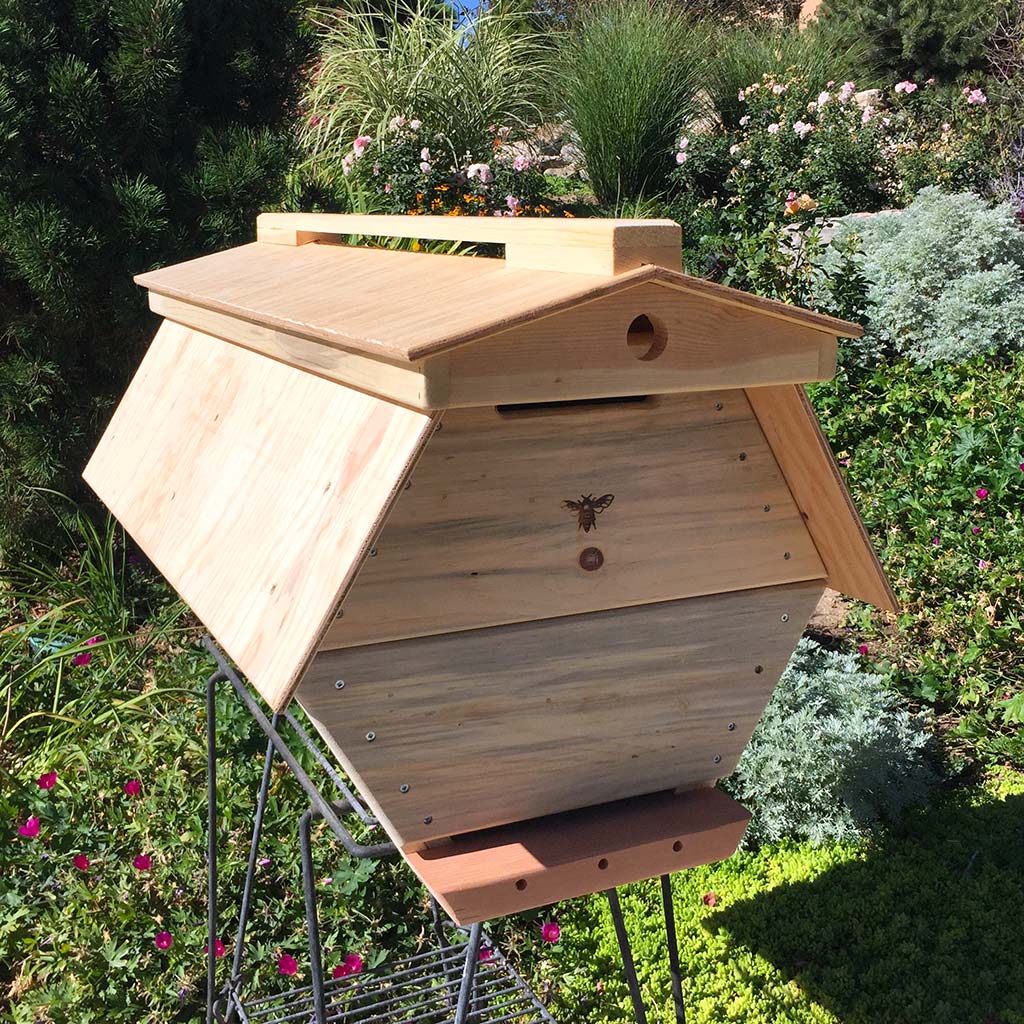
Cathedral Hive Hexagonal Honeycombs - Each combs will be 10-15 pounds each x 18 bars adding pressure to the sides of the hive - so ensure clamping is solid
Side Roof Panels - Upper Section - Clamped for drilling
Side Panel 1-1/2" above the Upper Section top
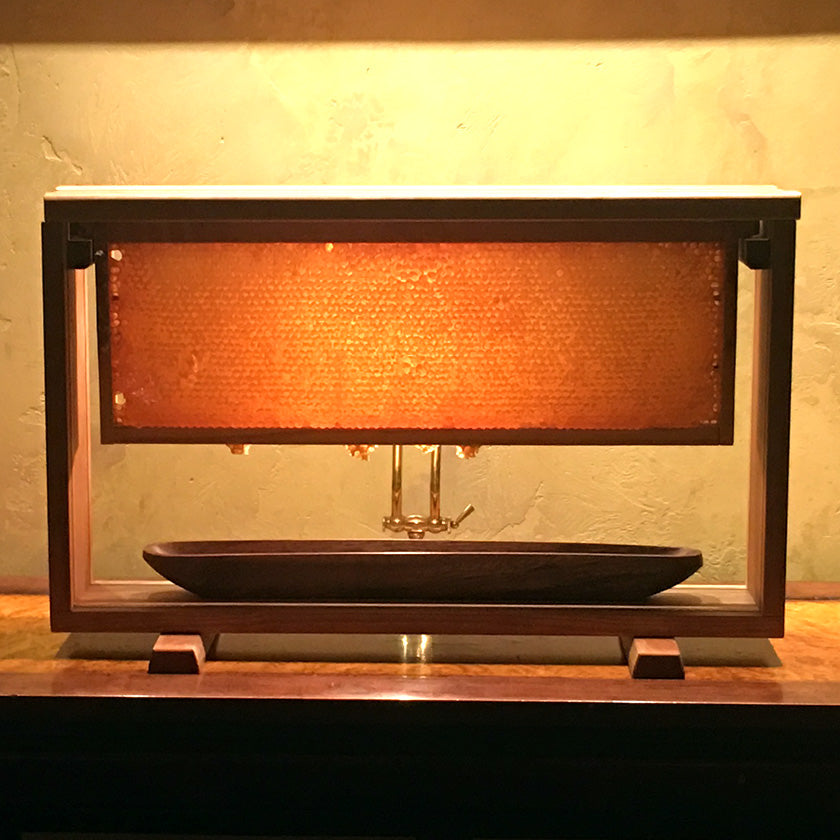
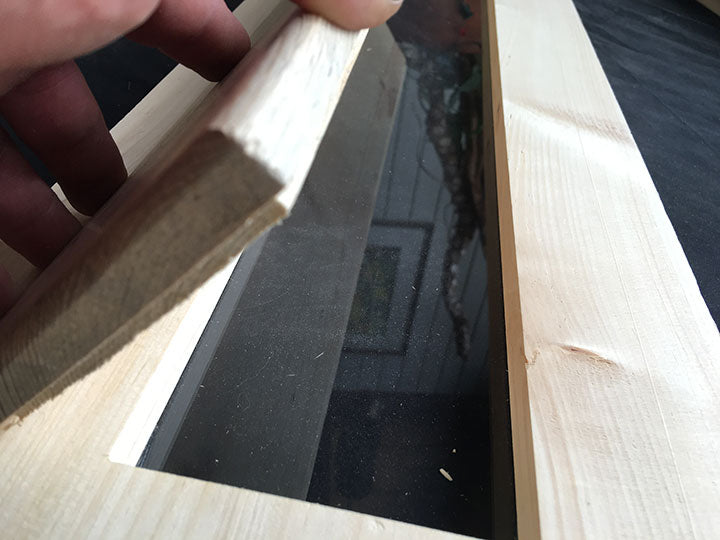
The Cathedral Hive - Viewing Window
The Kit parts come with the glass window pre-assembled